
This guide walks you through the initial setup of a new Proxmox VE node. It covers best practices for configuring a second storage drive, essential post-installation steps, and recommended settings to ensure a stable and optimized Proxmox environment.
Preparation
Before installing Proxmox VE, make sure your system meets the following minimum hardware requirements:
- CPU: At least 2 CPU cores
- RAM: At least 4 GB
- Storage: At least 16 GB of available disk space
- USB Drive: A USB flash drive with sufficient capacity for the installation image
Required Downloads
- Proxmox VE ISO: Download the latest installation image from the official Proxmox website.
- Rufus: Download Rufus to create a bootable USB drive.
Creating the Bootable USB Drive
Once you have downloaded the Proxmox VE ISO and Rufus, you can prepare your installation USB drive.
- Connect your USB flash drive to your computer.
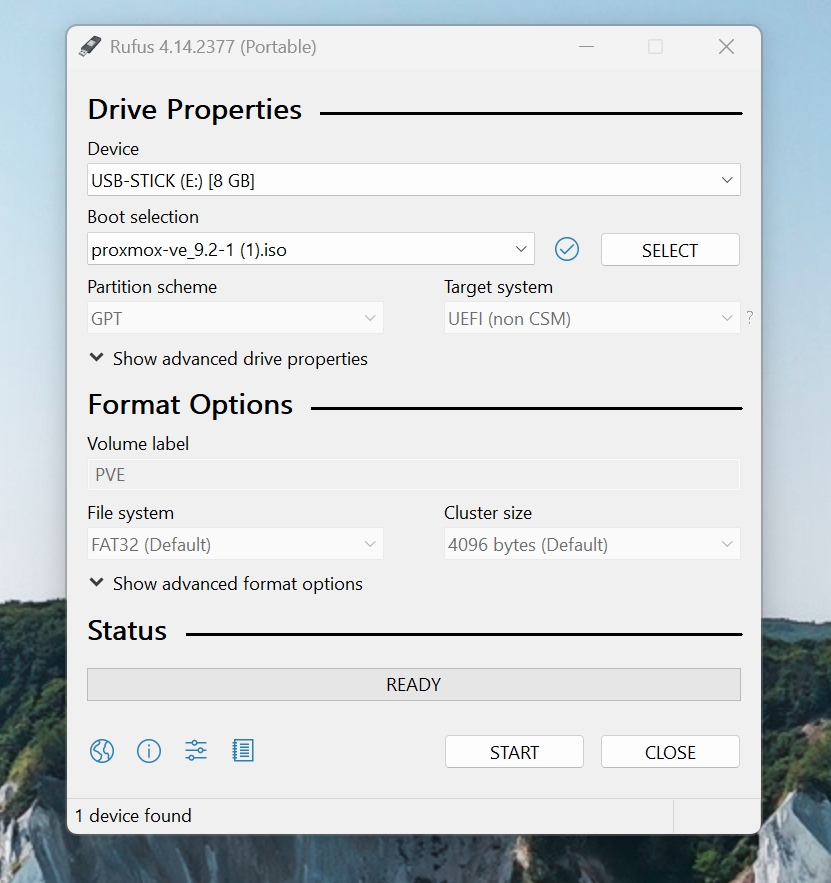
- Launch Rufus and select your USB drive under Device.
- Click SELECT and choose the downloaded Proxmox VE ISO file.
- Keep the recommended settings and click START.
- Confirm the warning that all existing data on the USB drive will be erased.
- Wait until Rufus has finished creating the bootable USB drive.
Your USB drive is now ready to install Proxmox VE.
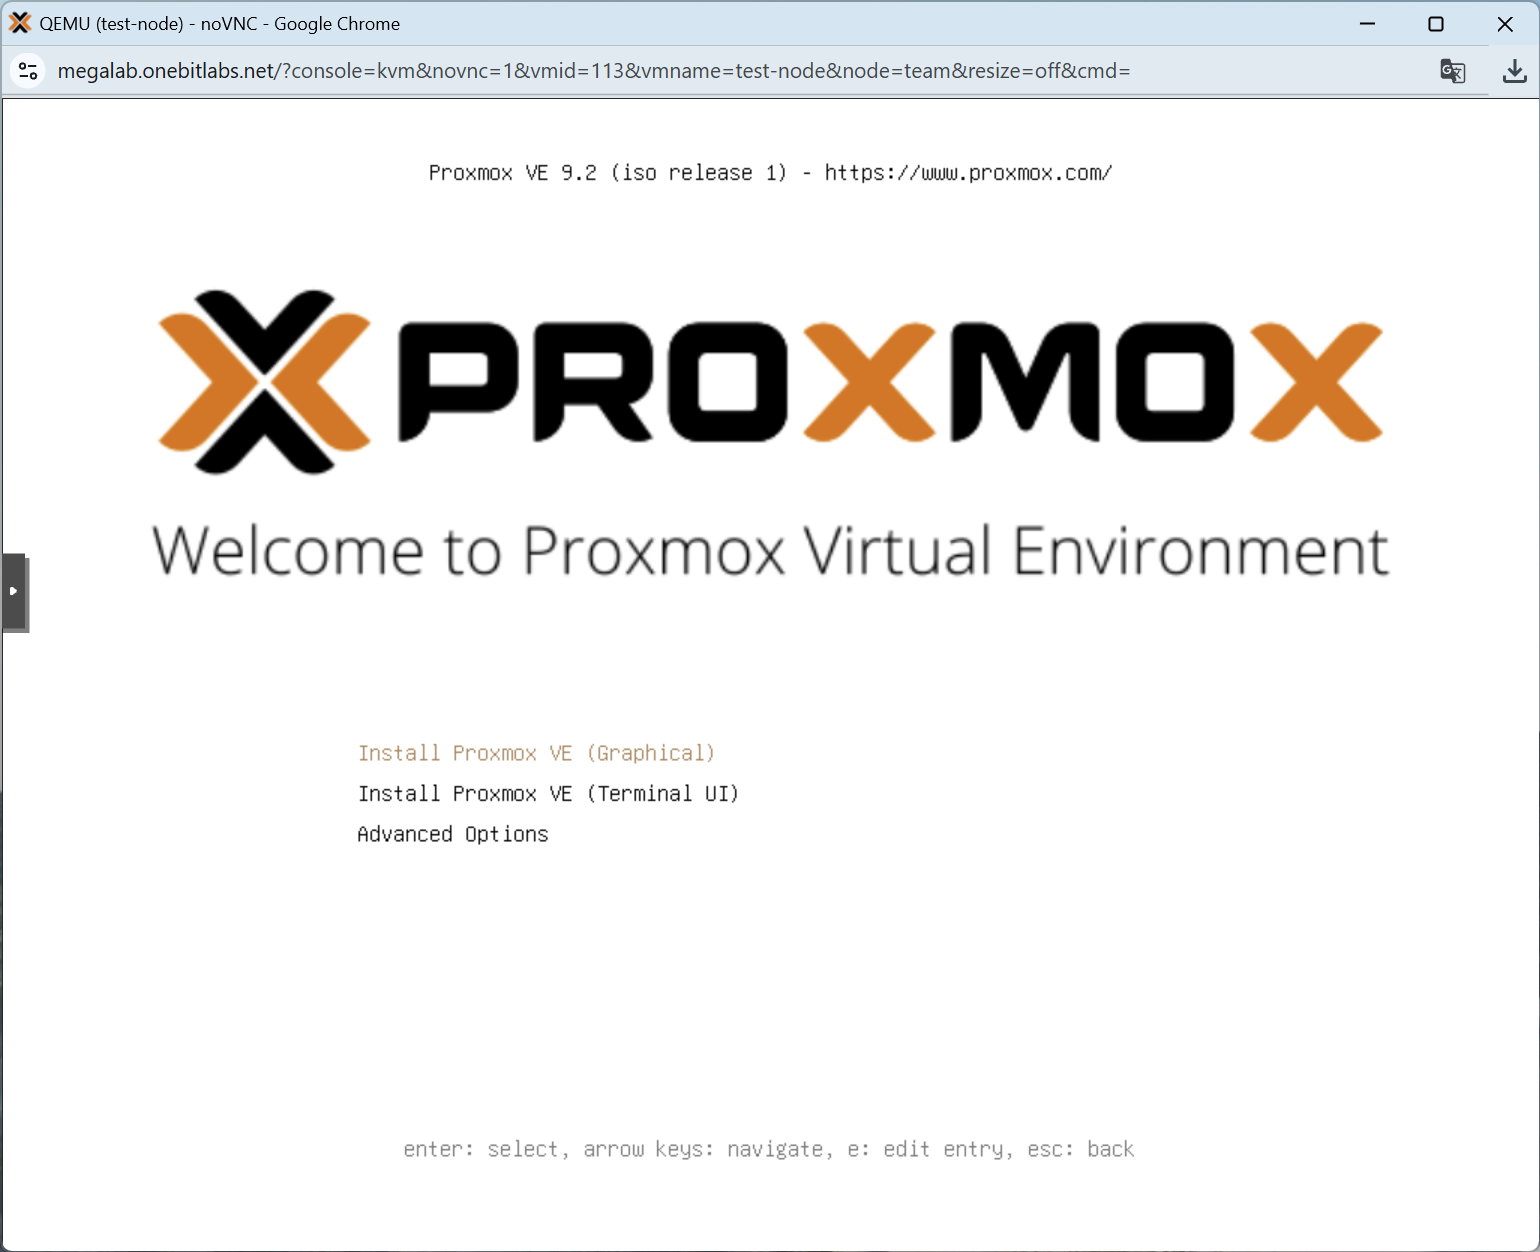
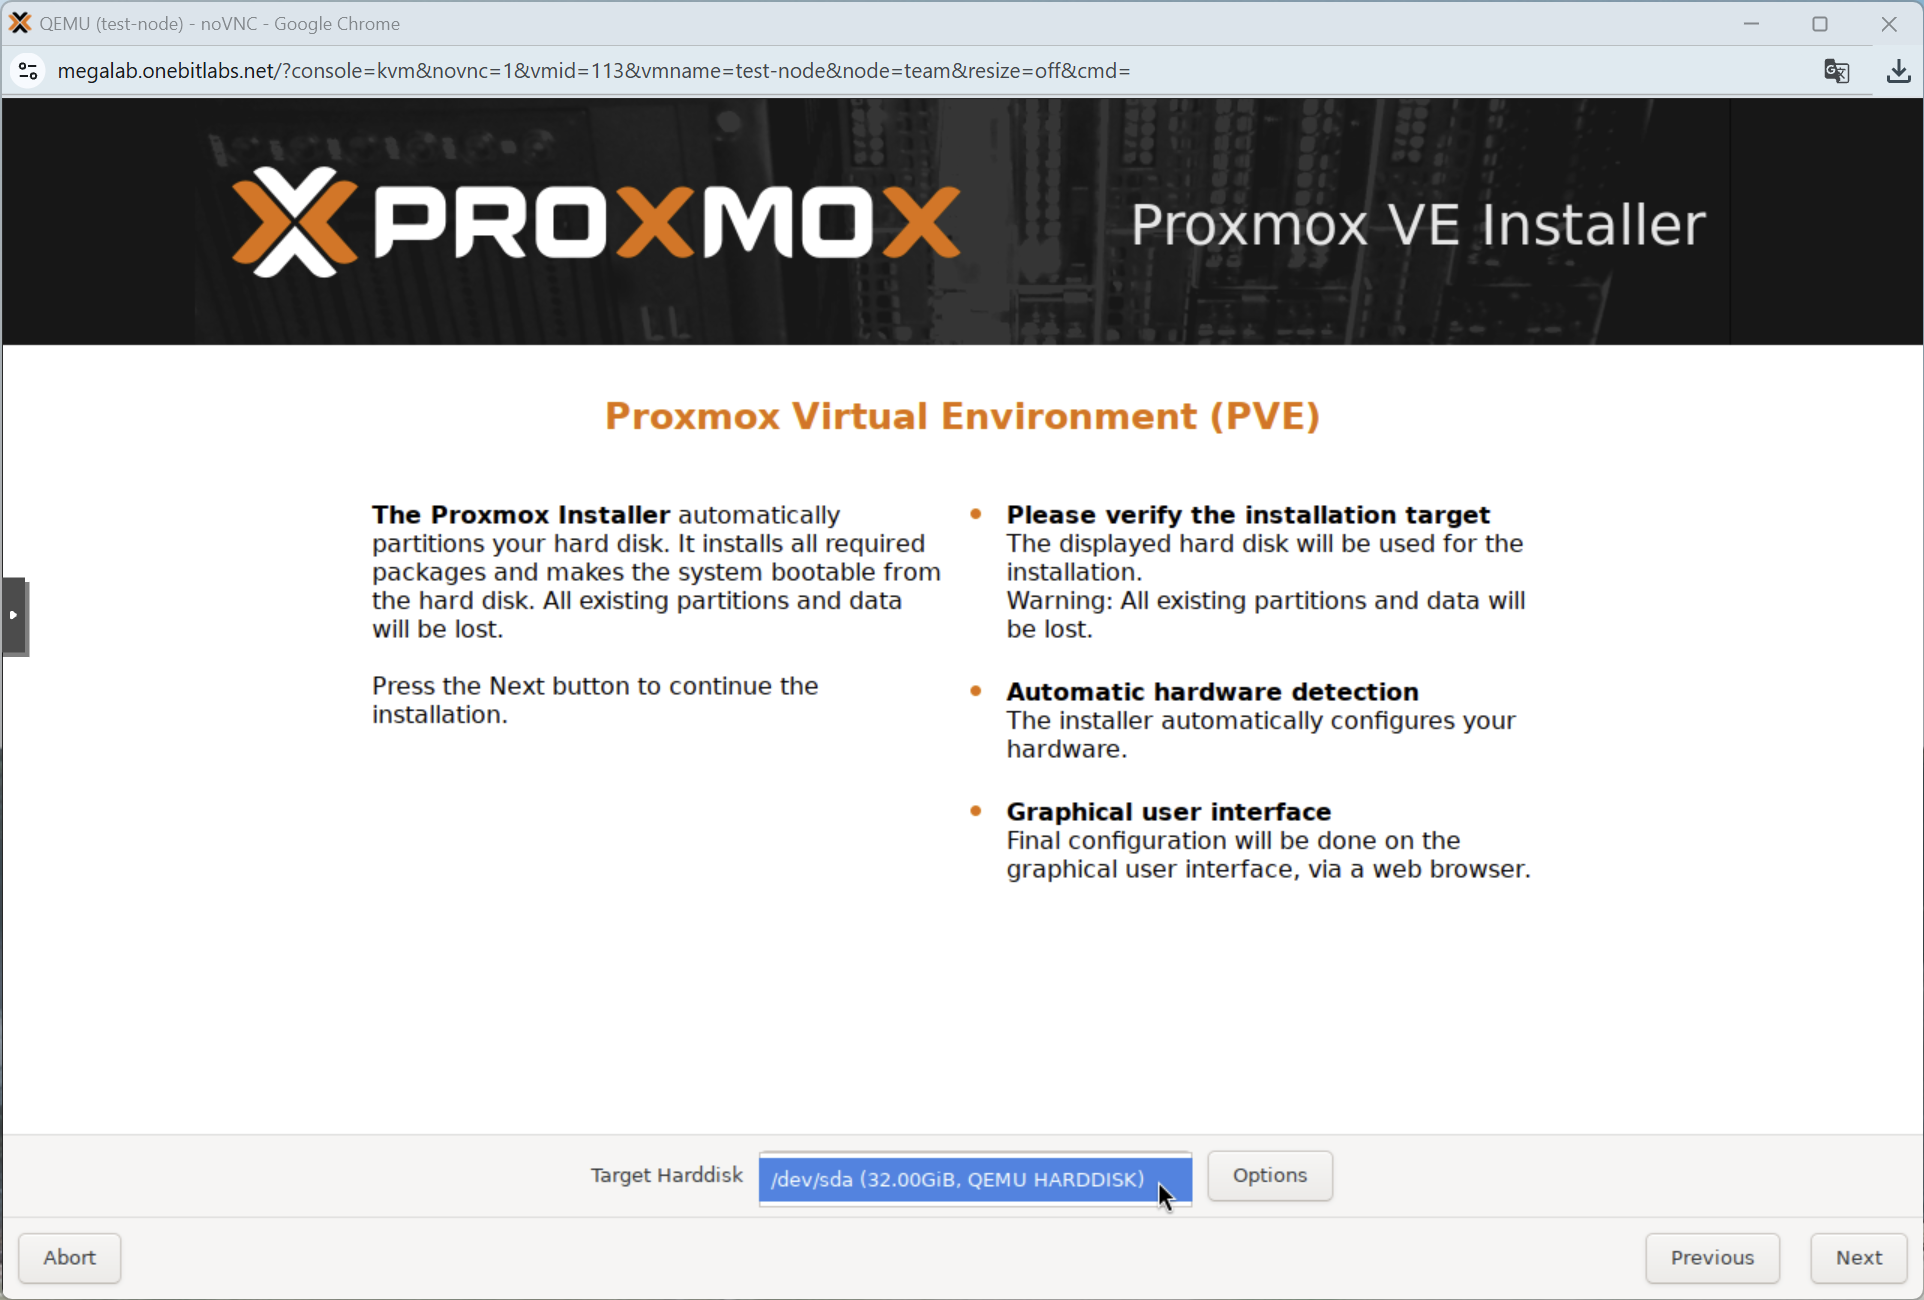
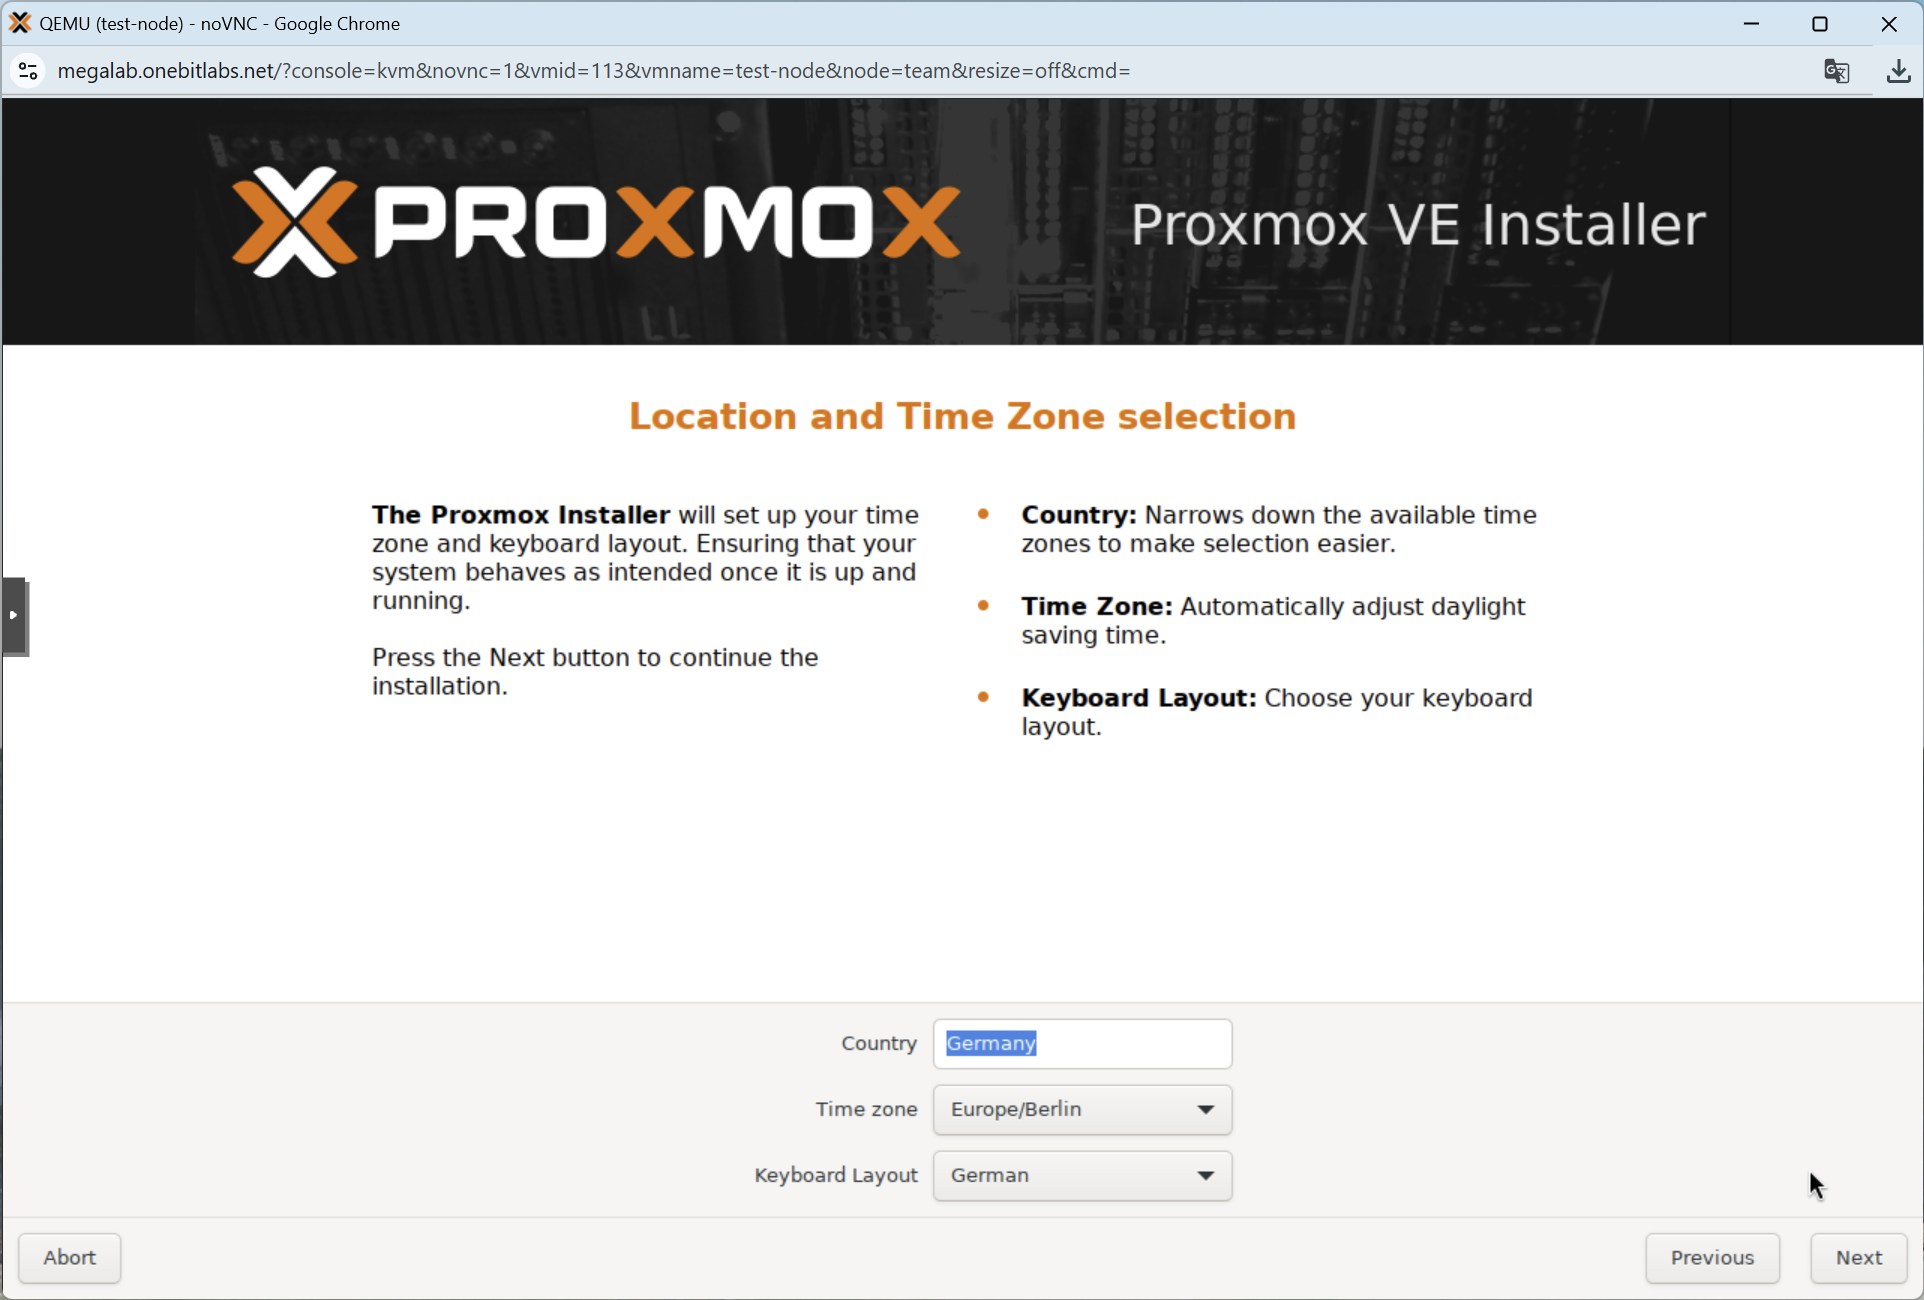
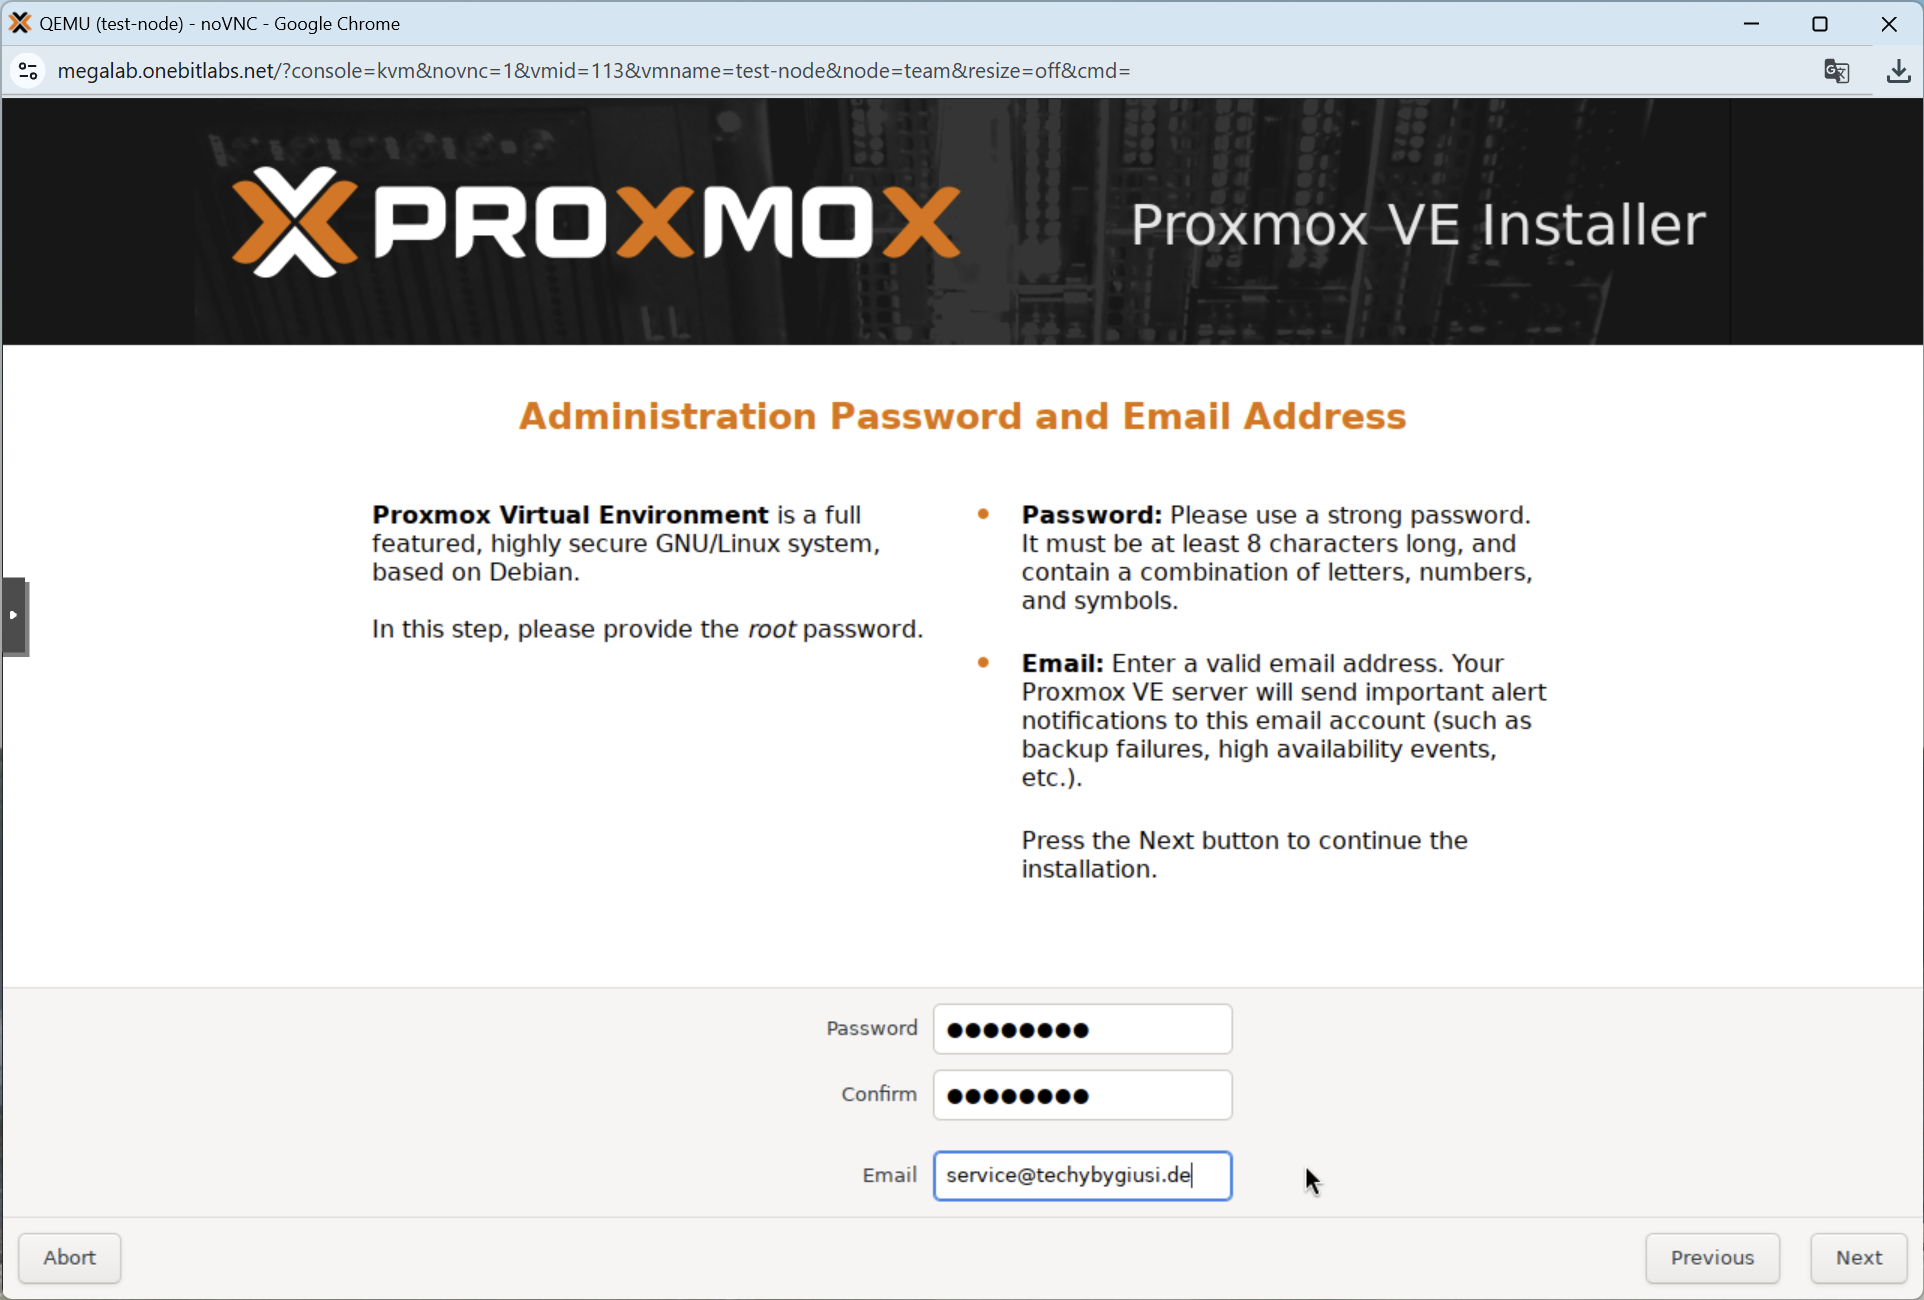
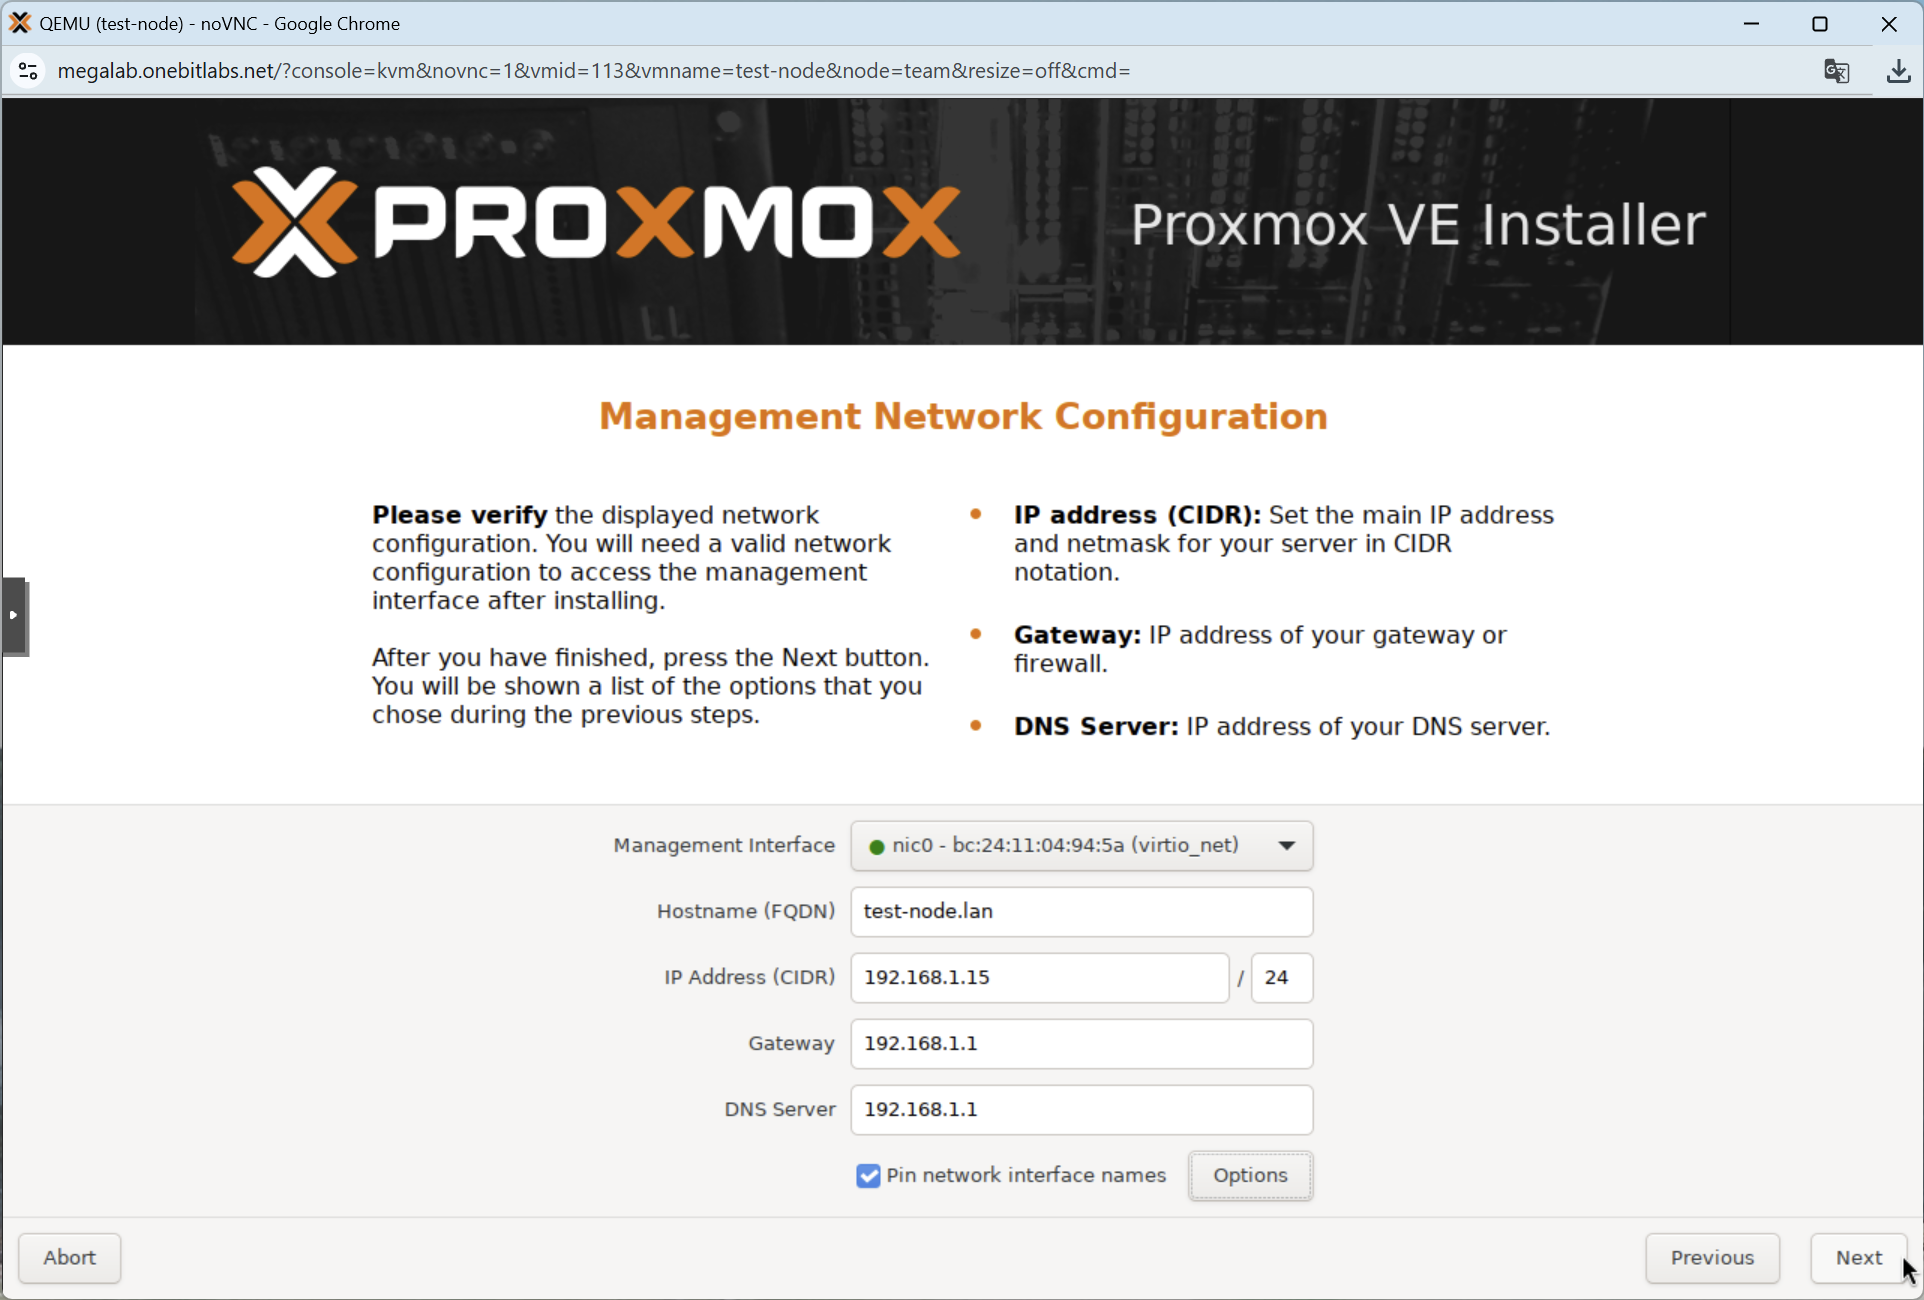
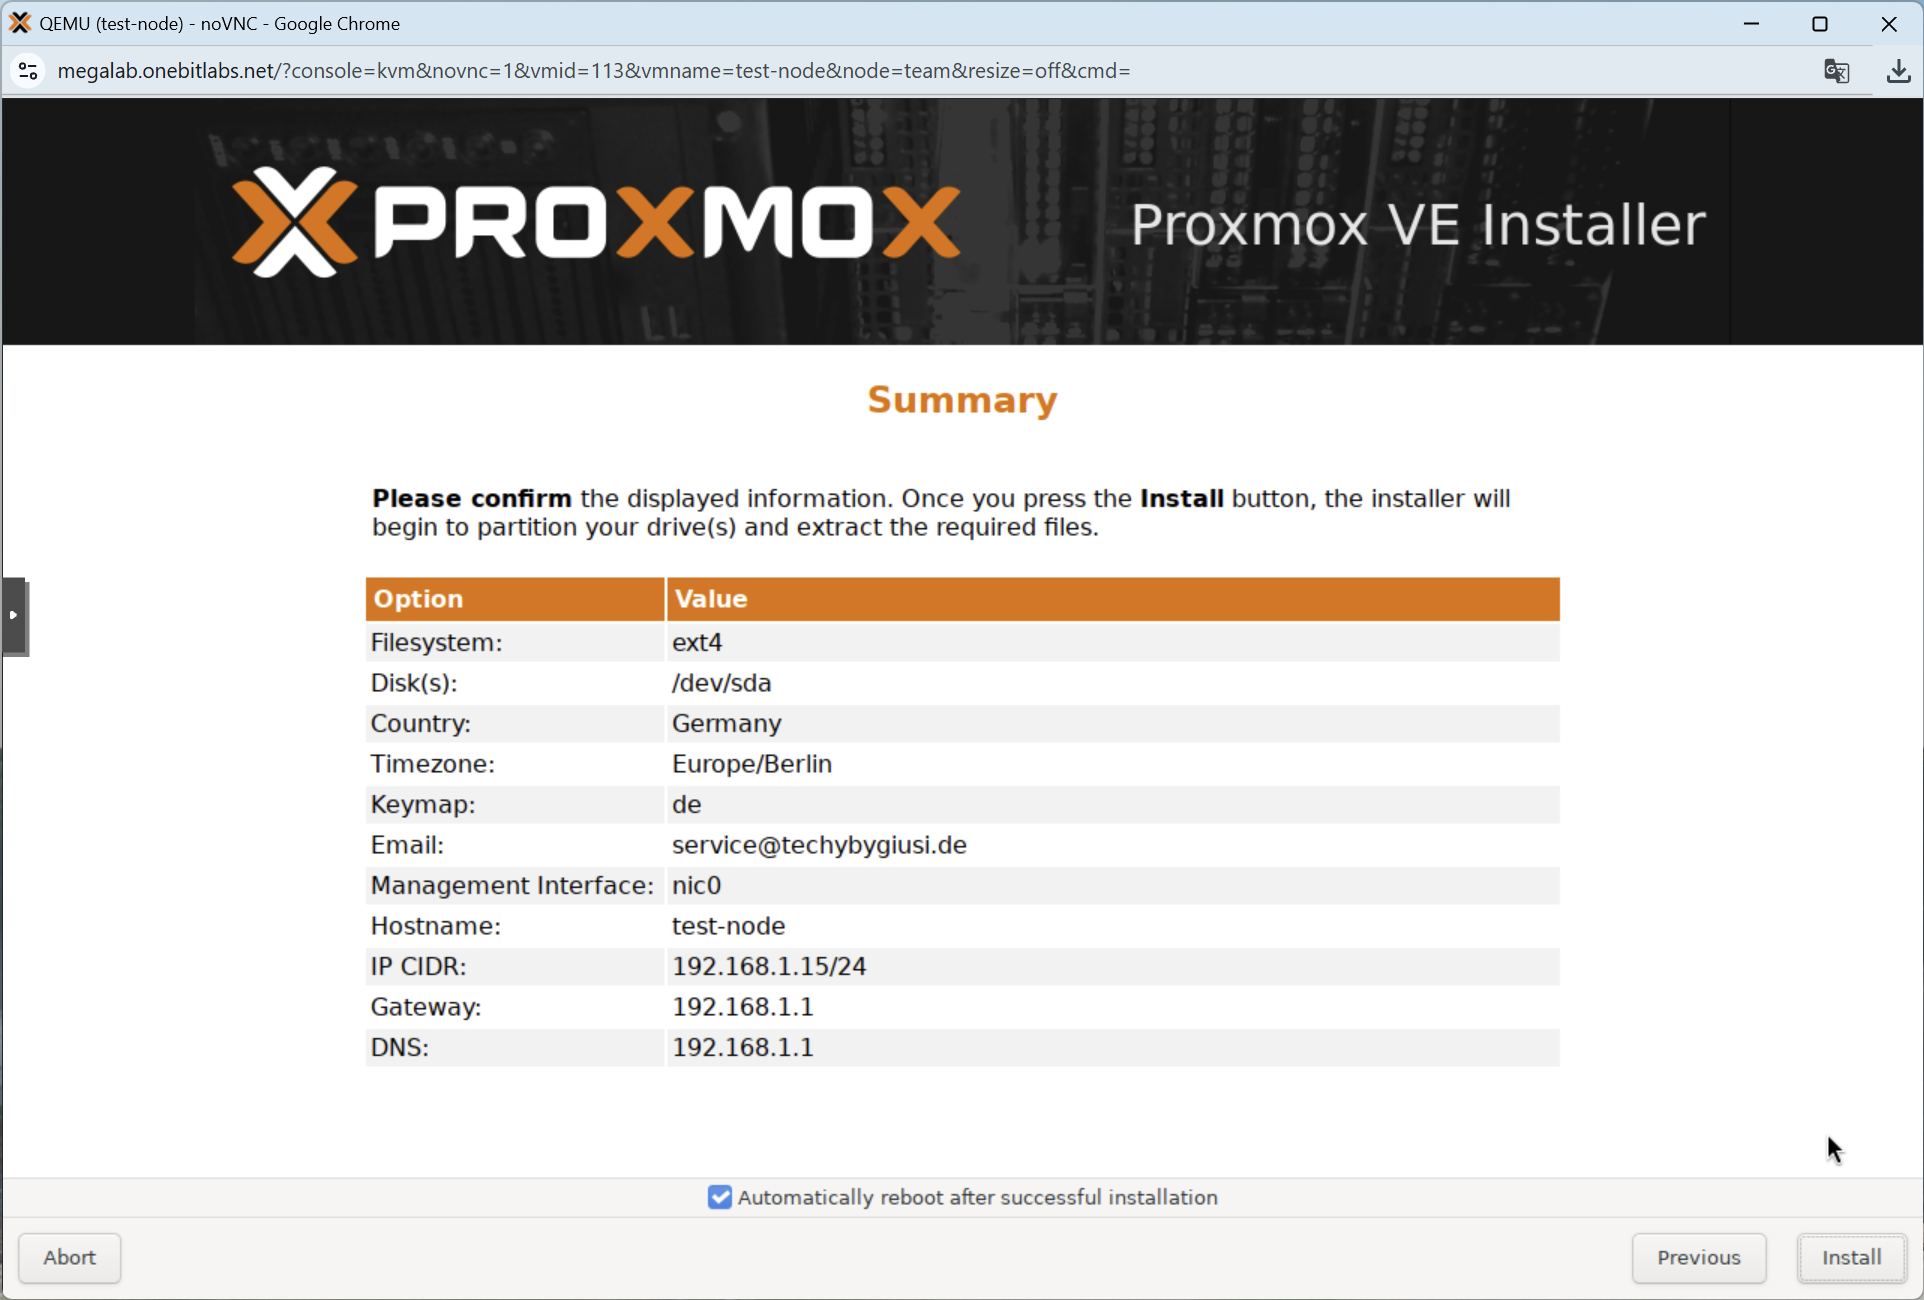
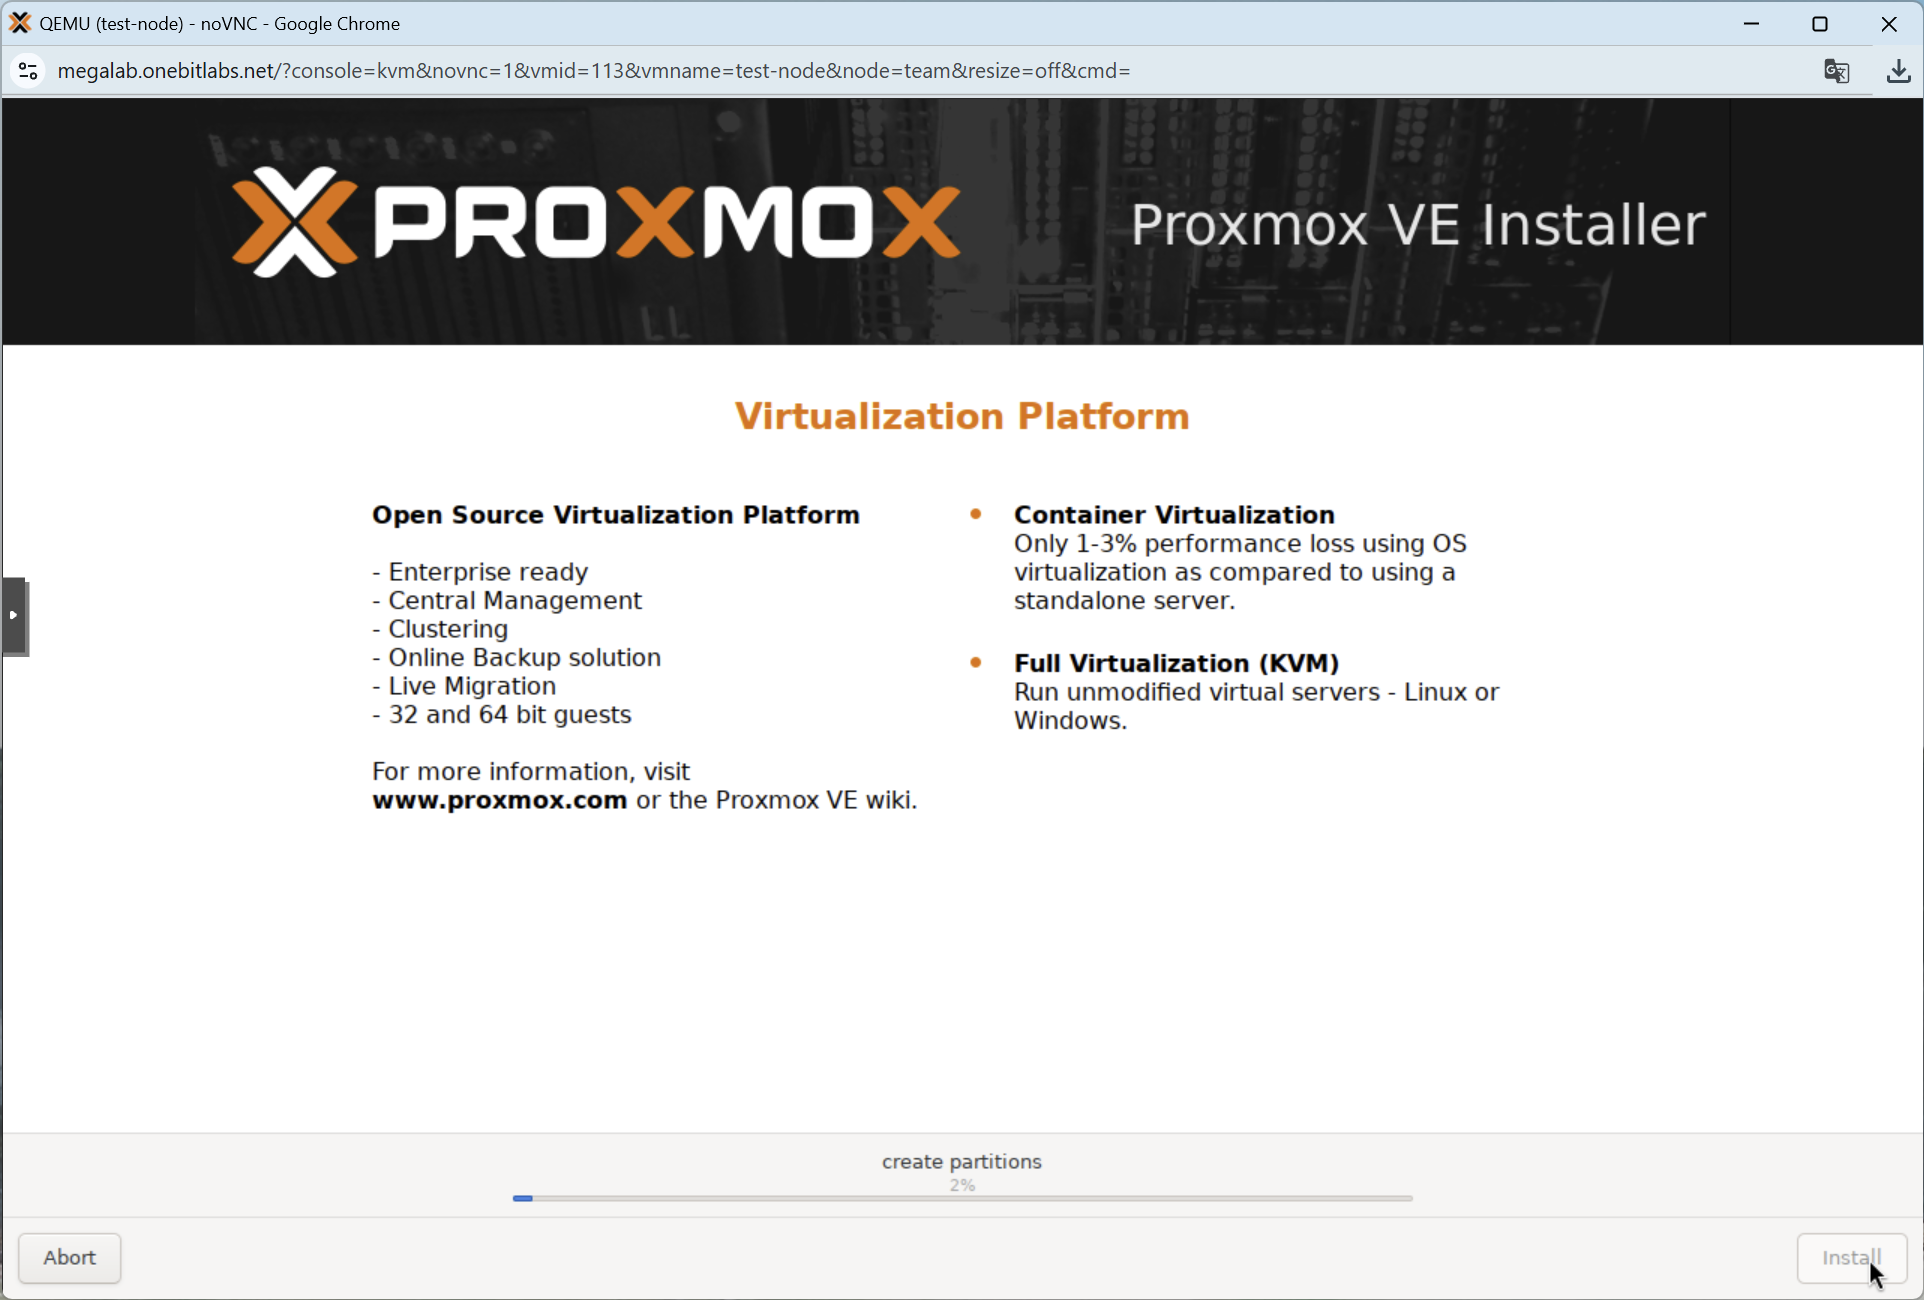
Installation
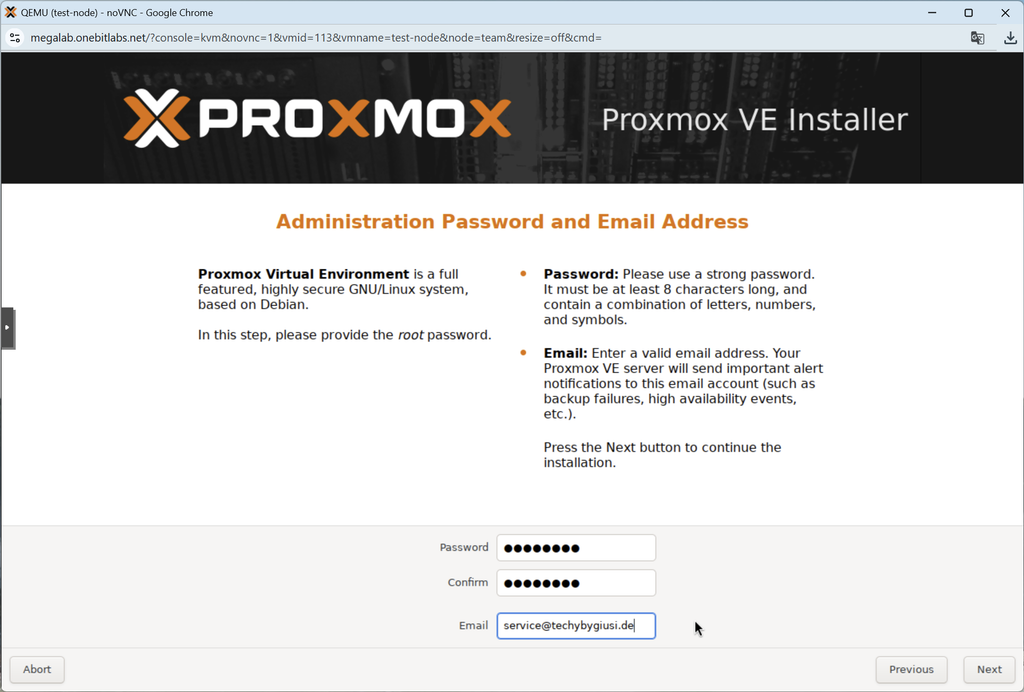
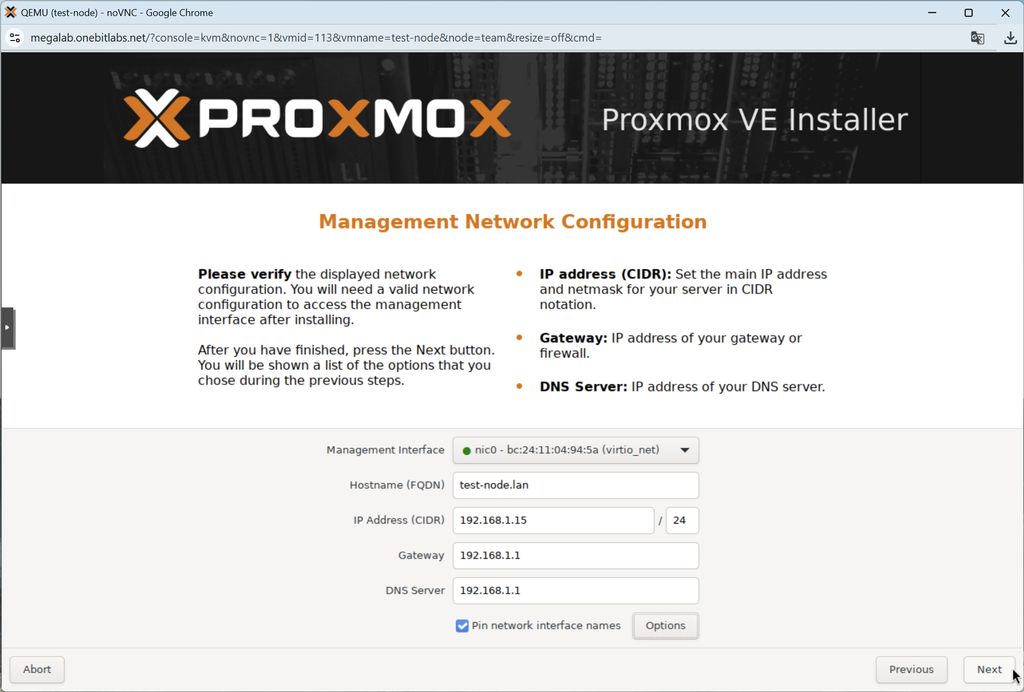
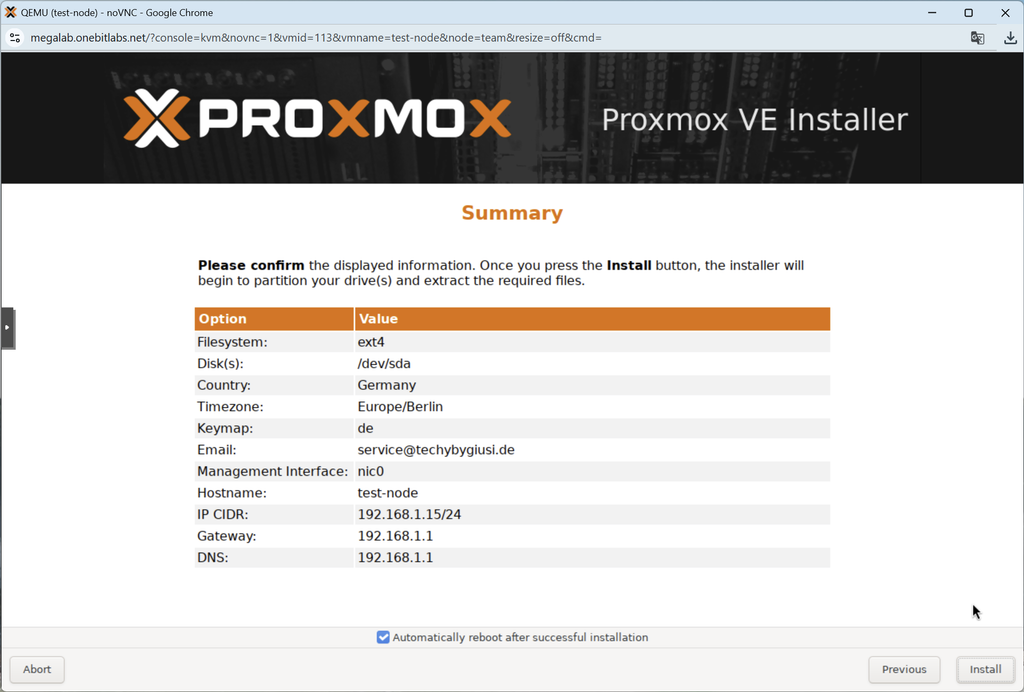
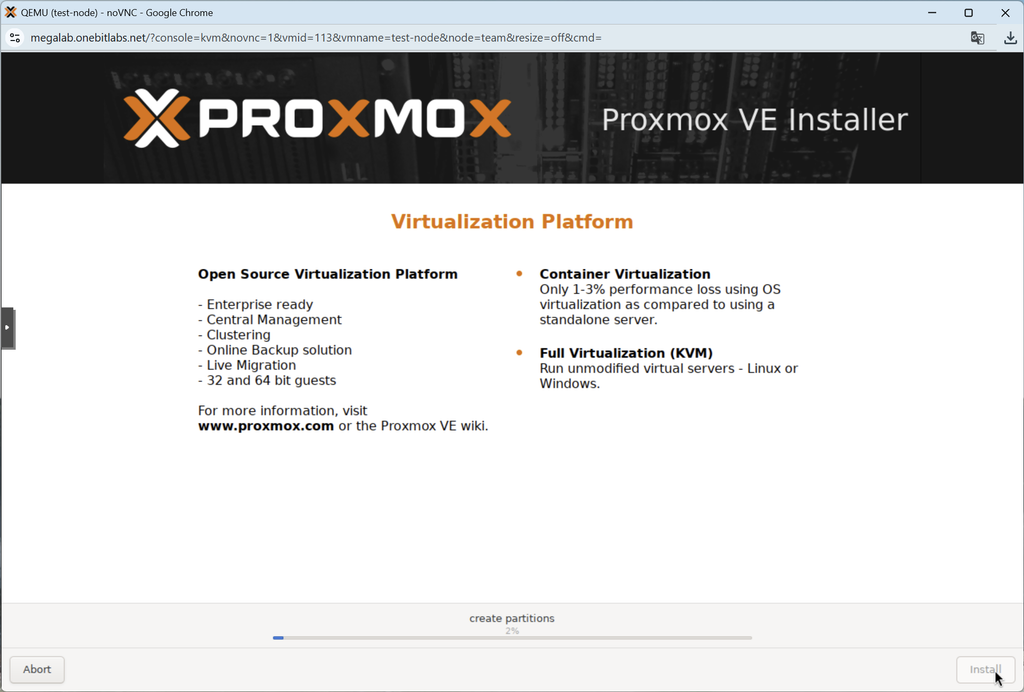
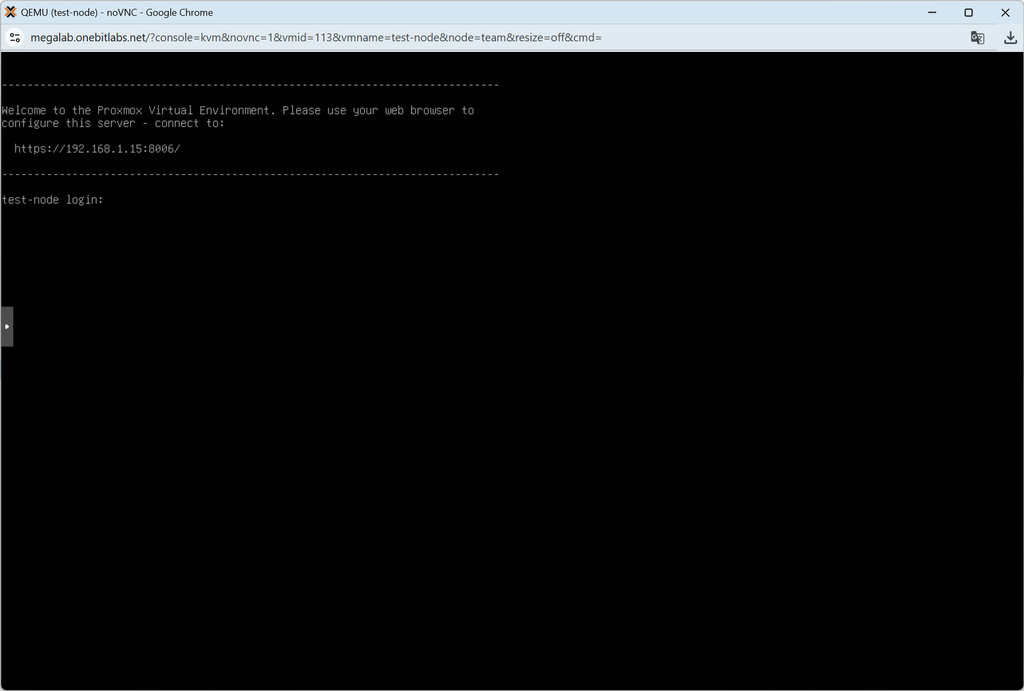
Post Install
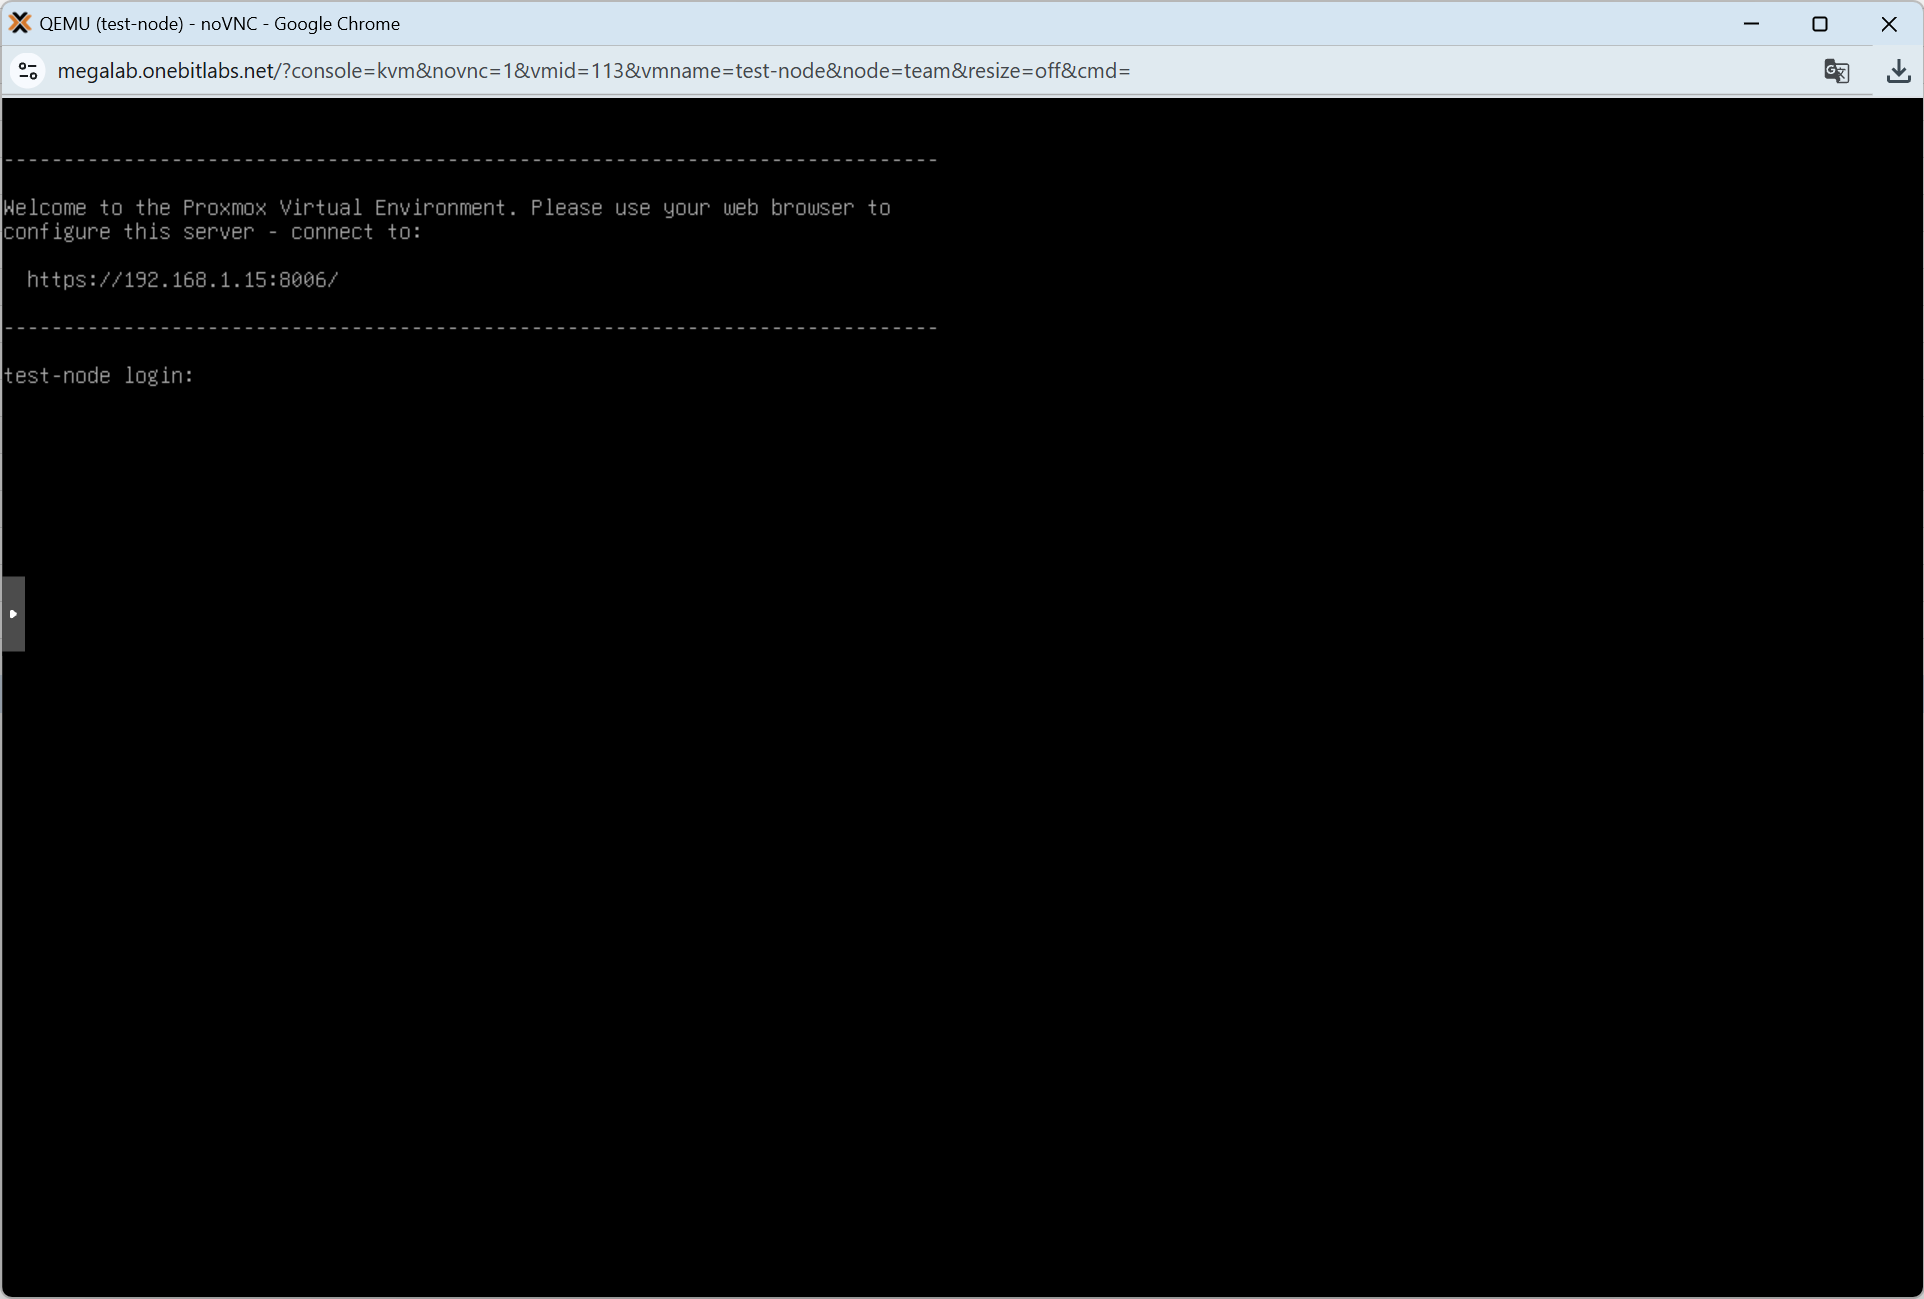
Once the installation is complete, you can proceed with the initial configuration of your Proxmox VE node.
Access the Proxmox web interface using the IP address configured during installation:
https://<your-server-ip>:8006
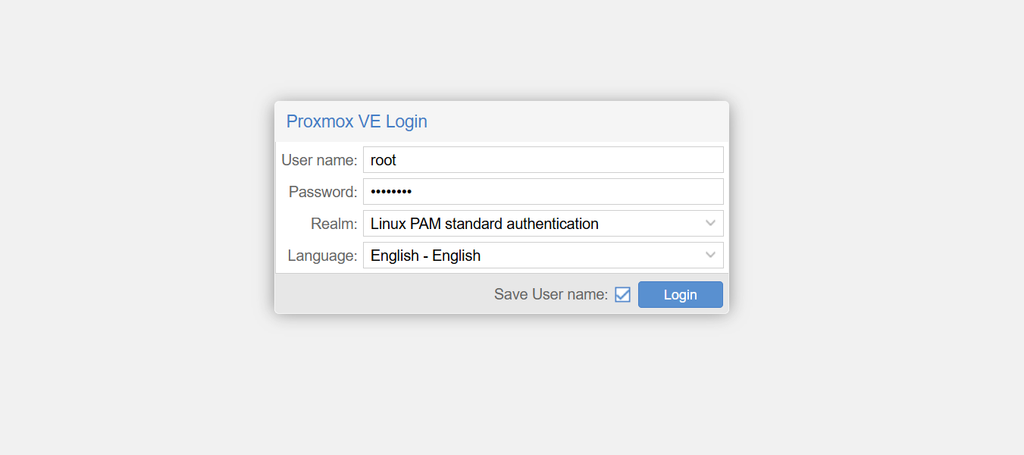
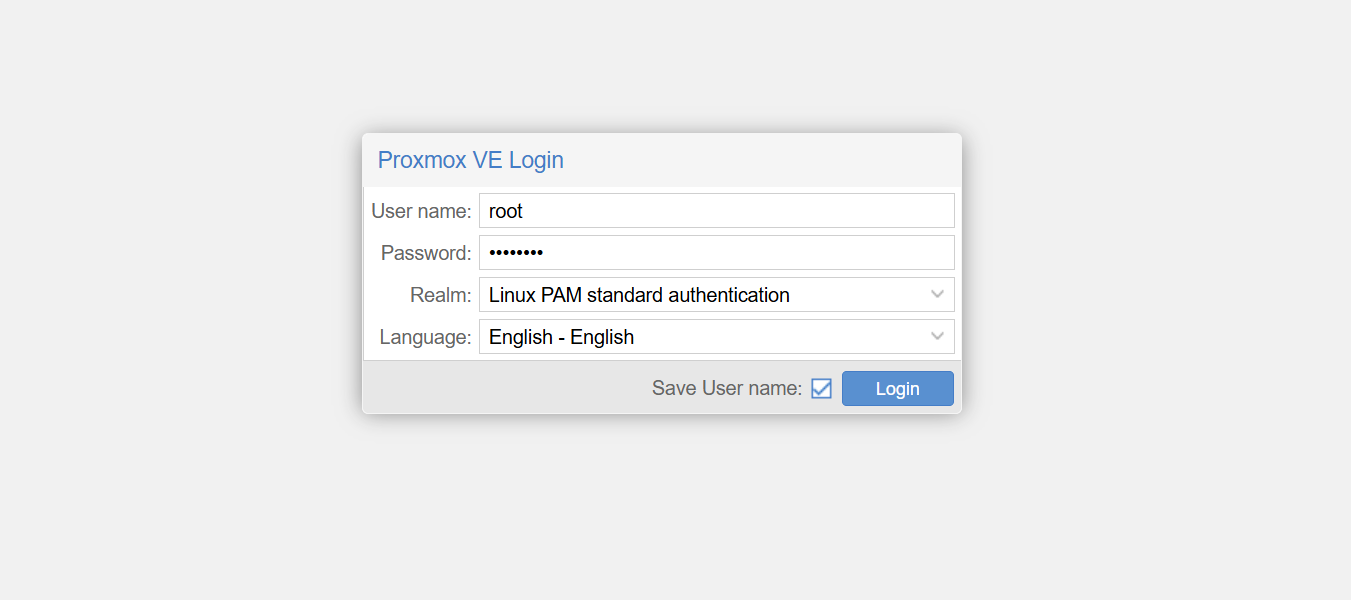
Log in with the username root and the password you specified during installation. You can also change the language of the web interface directly on the login screen.
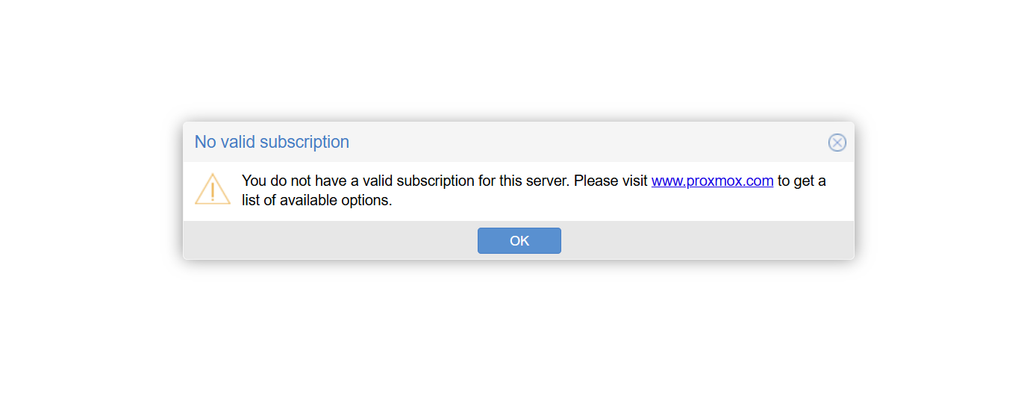
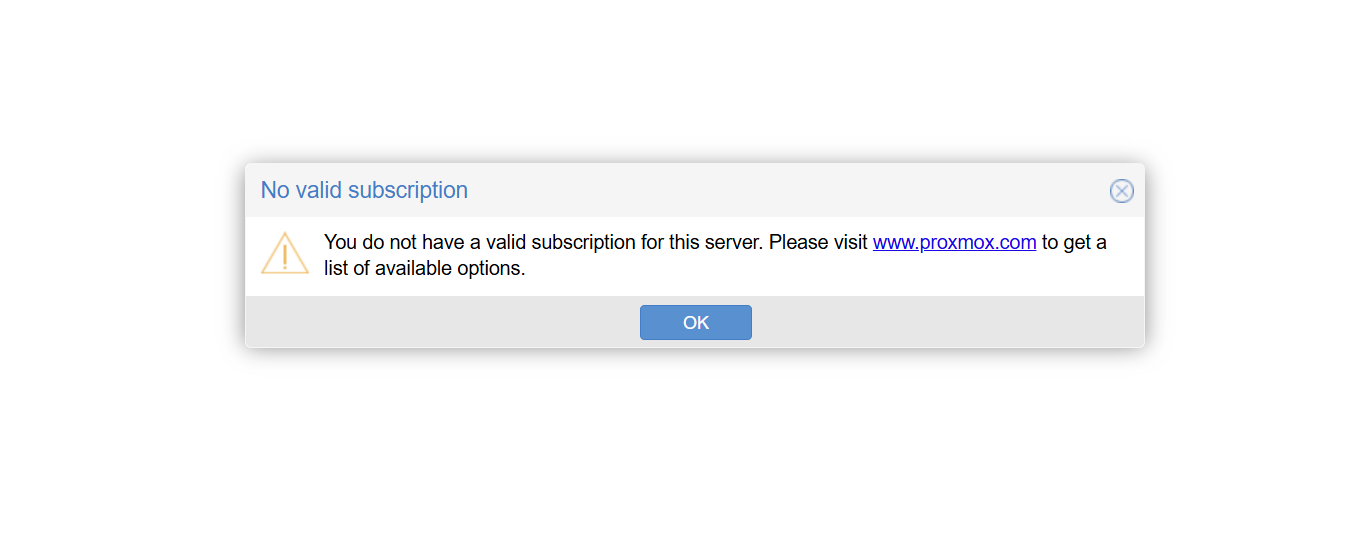
You can simply dismiss the no-subscription notification for now. Later in this guide, we will run a script to permanently hide this message.
1. Running the Proxmox VE Post-Install Script
Before configuring storage or making any additional changes, we will run the Proxmox VE Post Install script provided by Proxmox VE Helper-Scripts.
This community-maintained script simplifies the initial setup and helps configure several important settings automatically.
Important: This is a third-party community script and not an official Proxmox installer. Review the script before executing it with root privileges.
- Log in to your Proxmox VE web interface using the root account.
- Select your Proxmox node (in this example, testlab).
- Open Shell.
- Visit PVE Post Install – Community Scripts.
- Copy and execute the following command in the Proxmox shell:
bash -c "$(curl -fsSL https://raw.githubusercontent.com/community-scripts/ProxmoxVE/main/tools/pve/post-pve-install.sh)"Follow the on-screen instructions and select the options appropriate for your environment.
For a typical homelab setup without an Enterprise subscription, the recommended options are generally suitable.
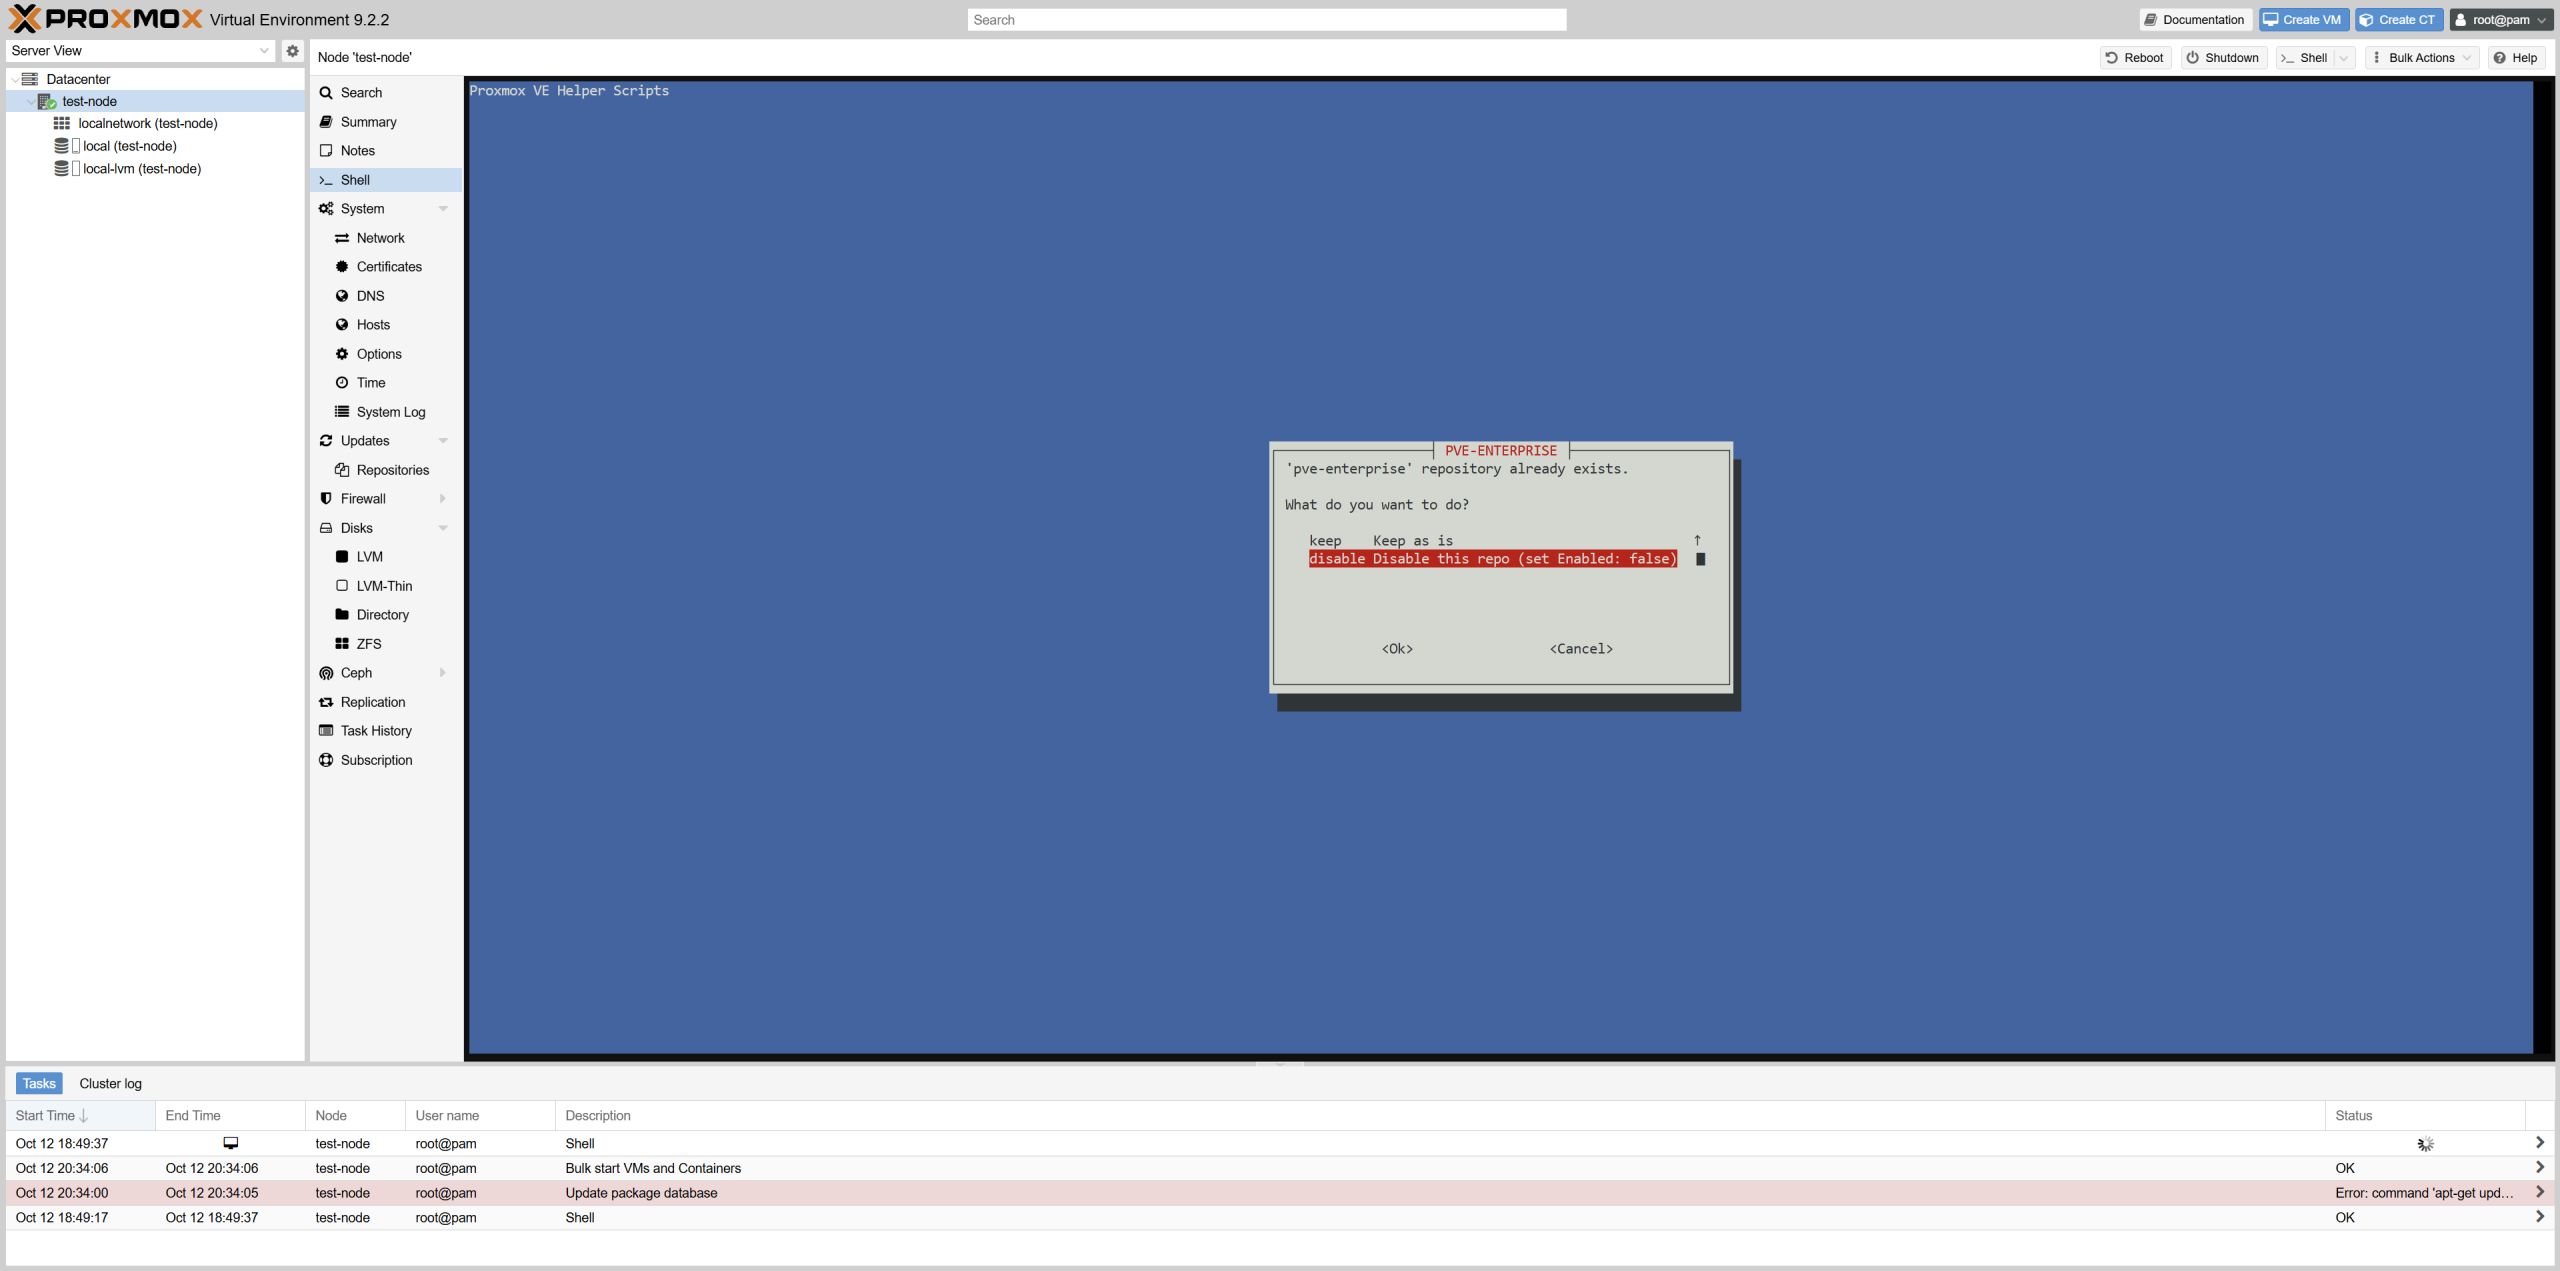
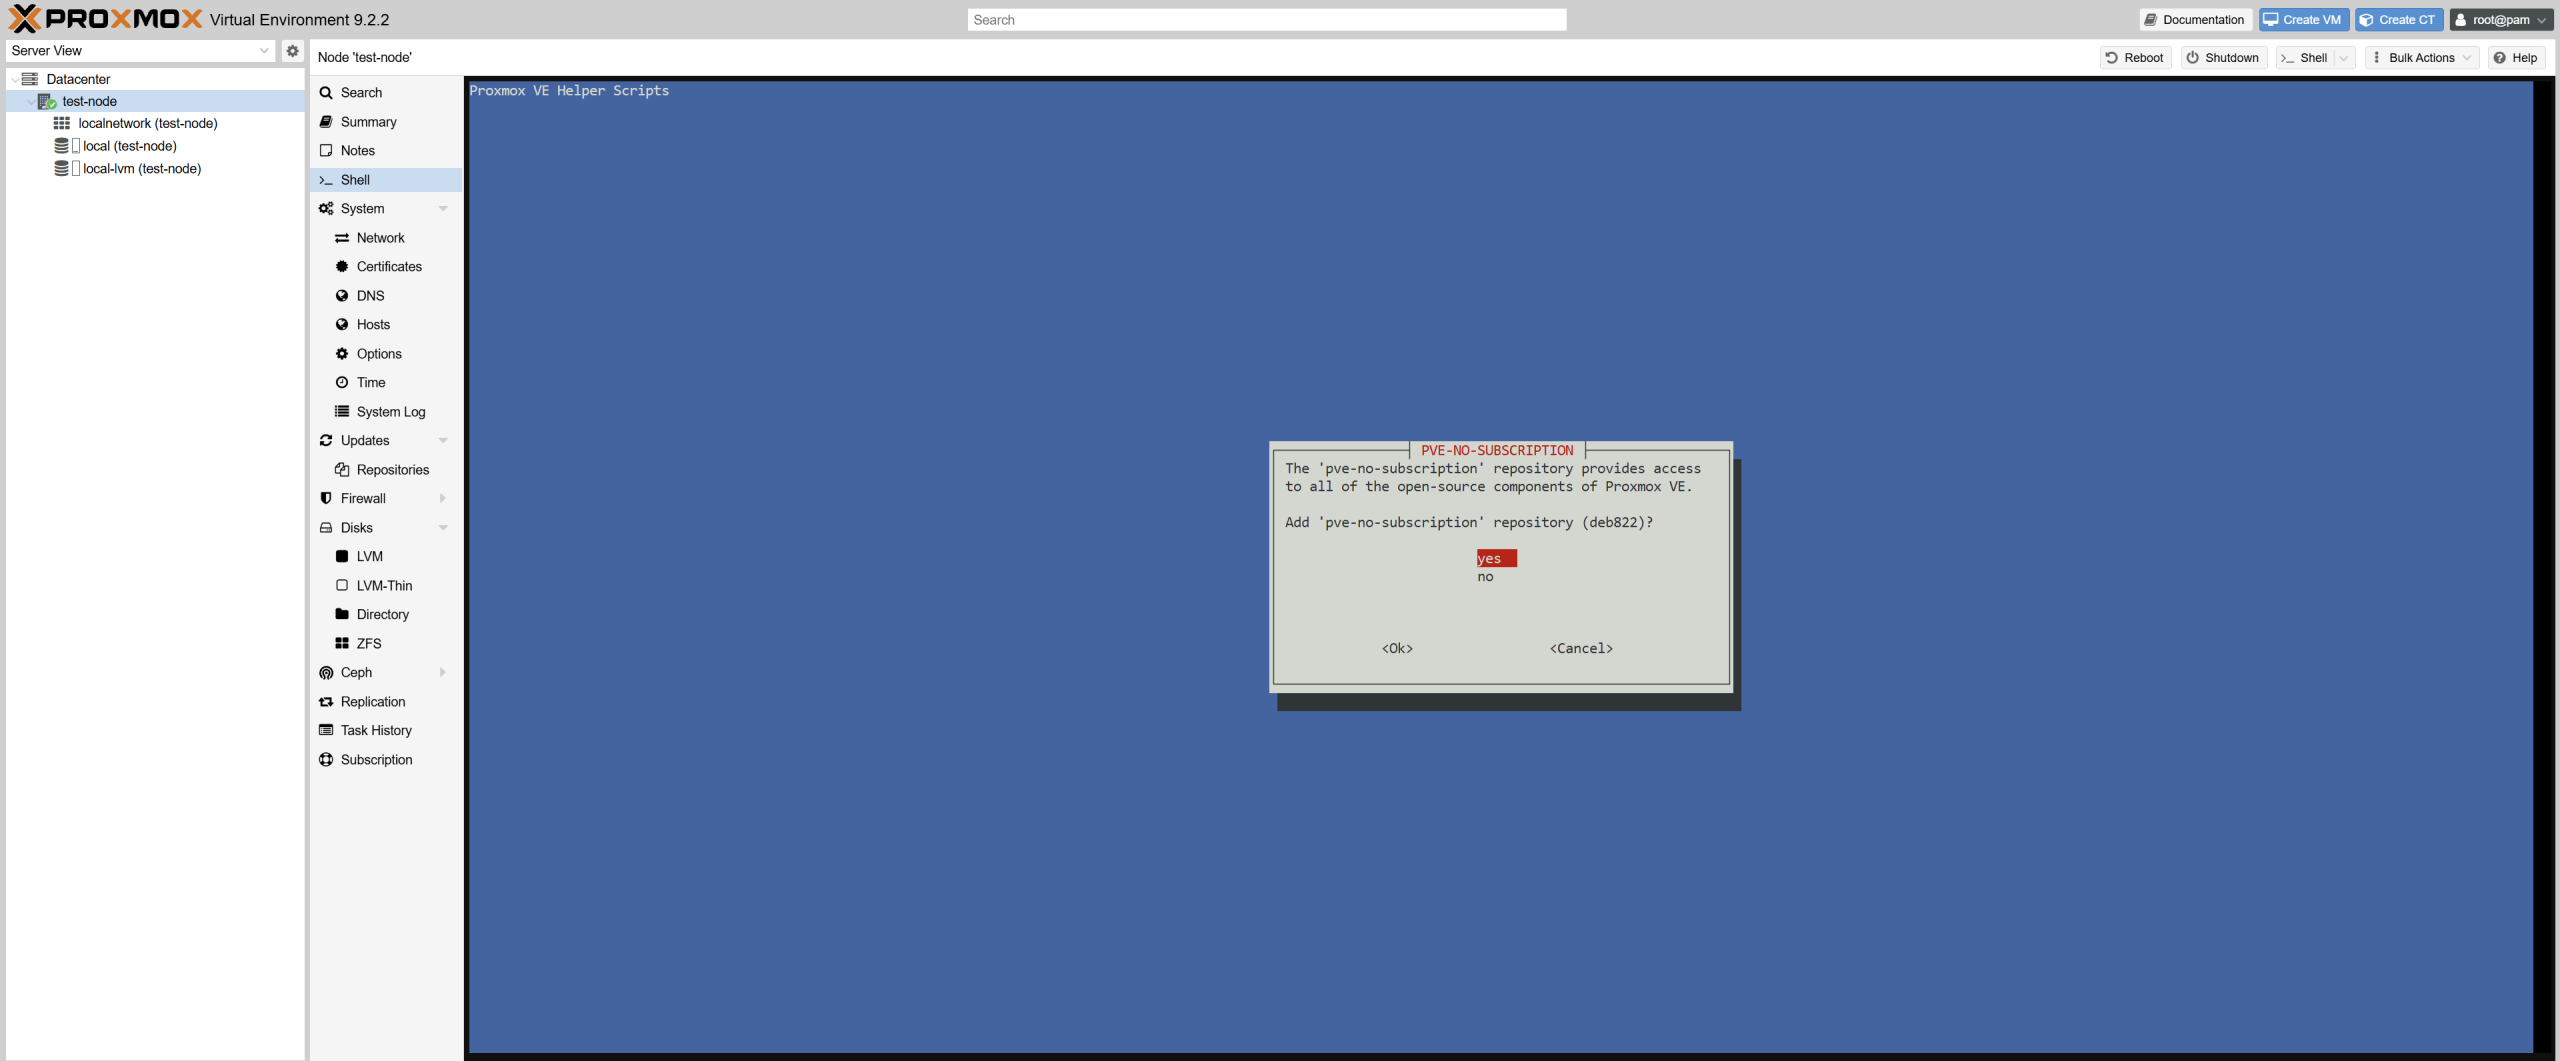
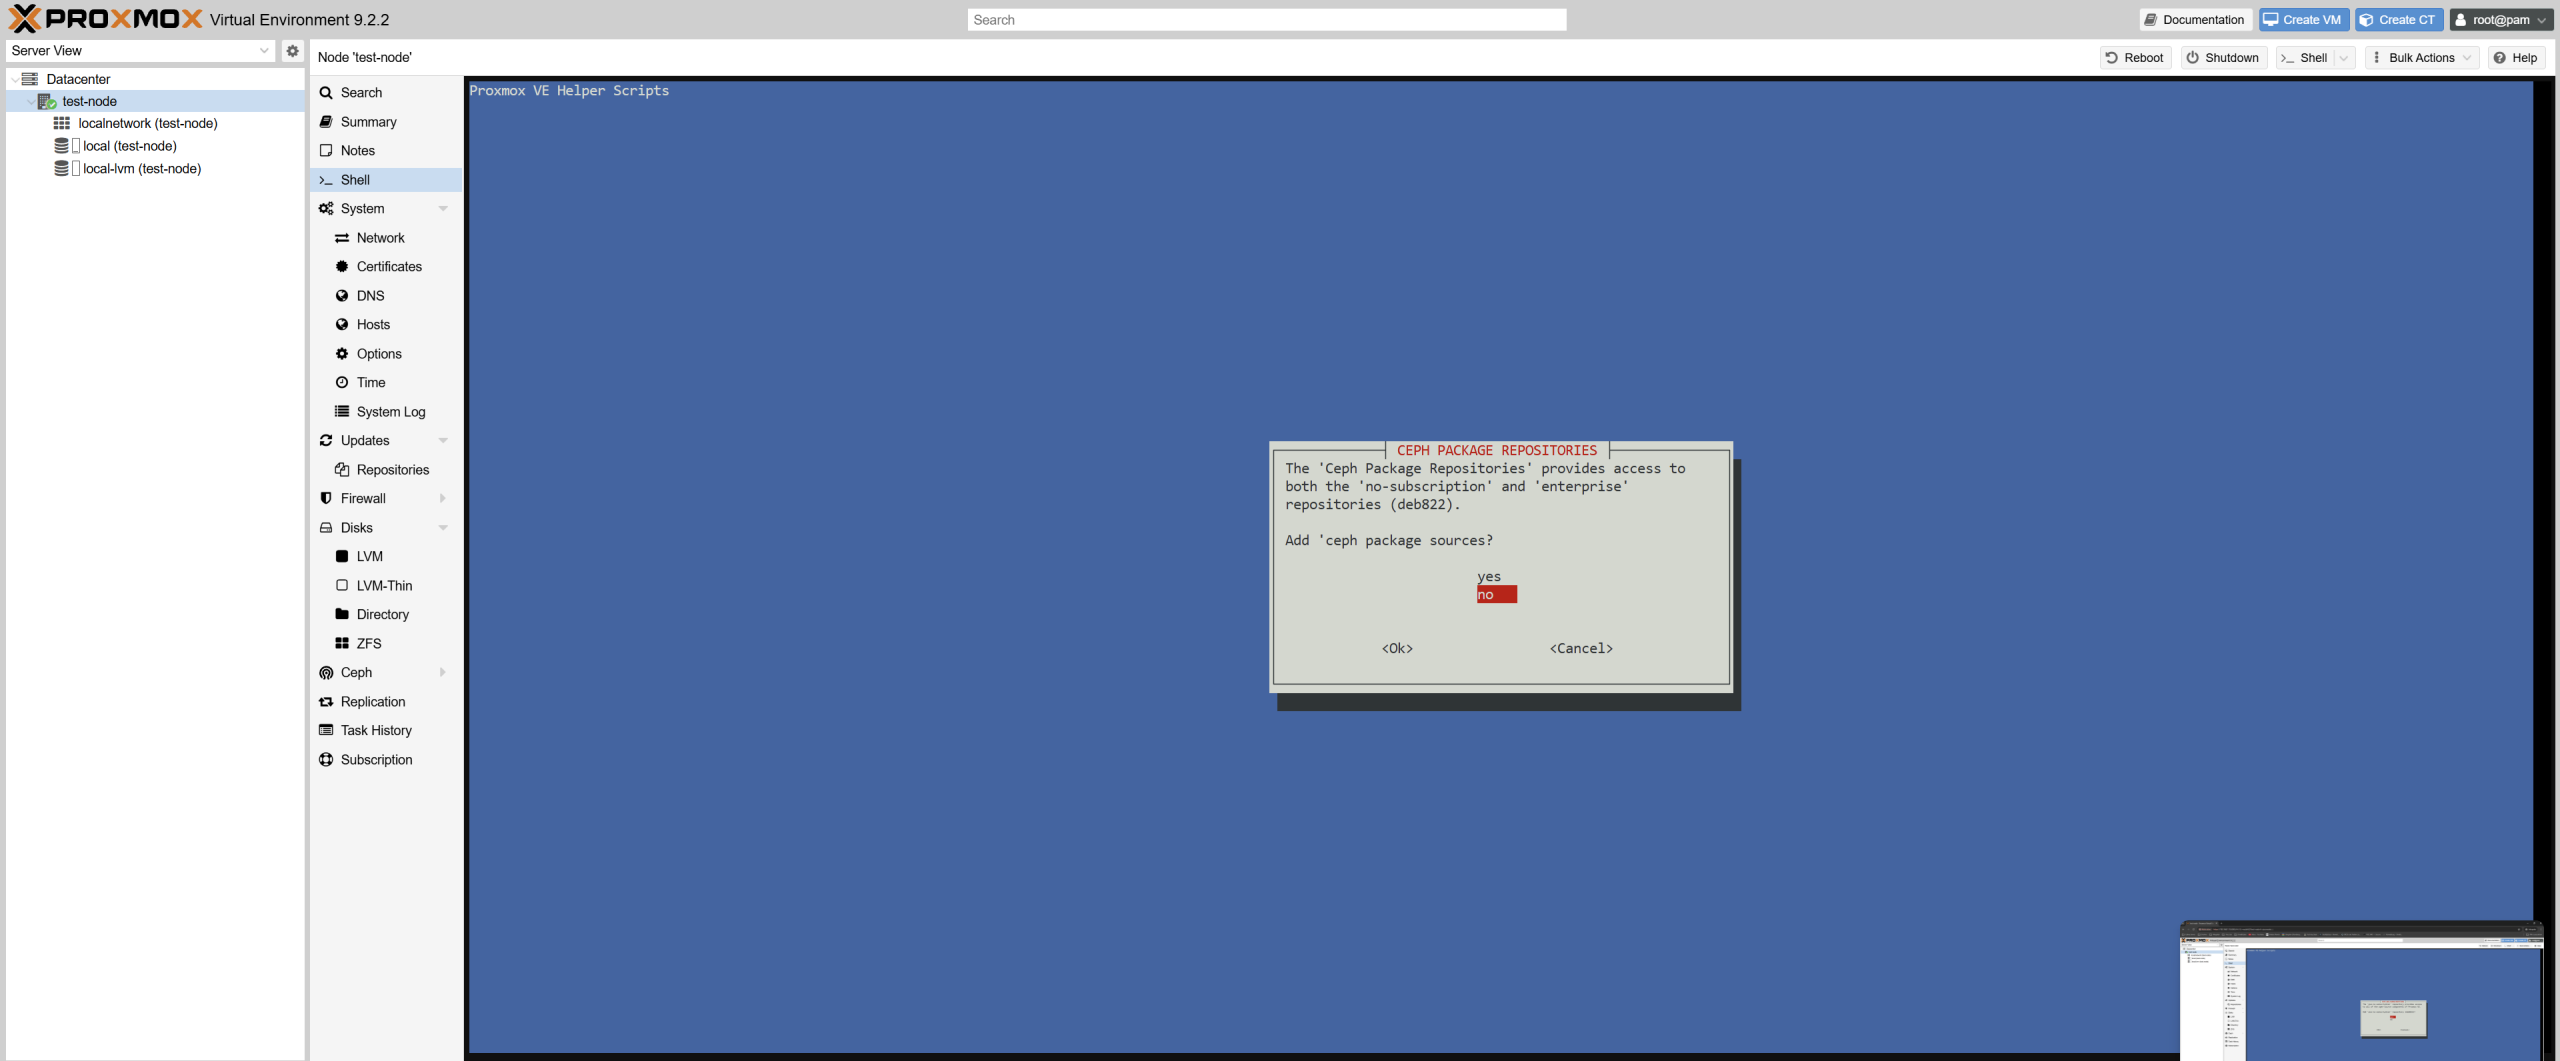
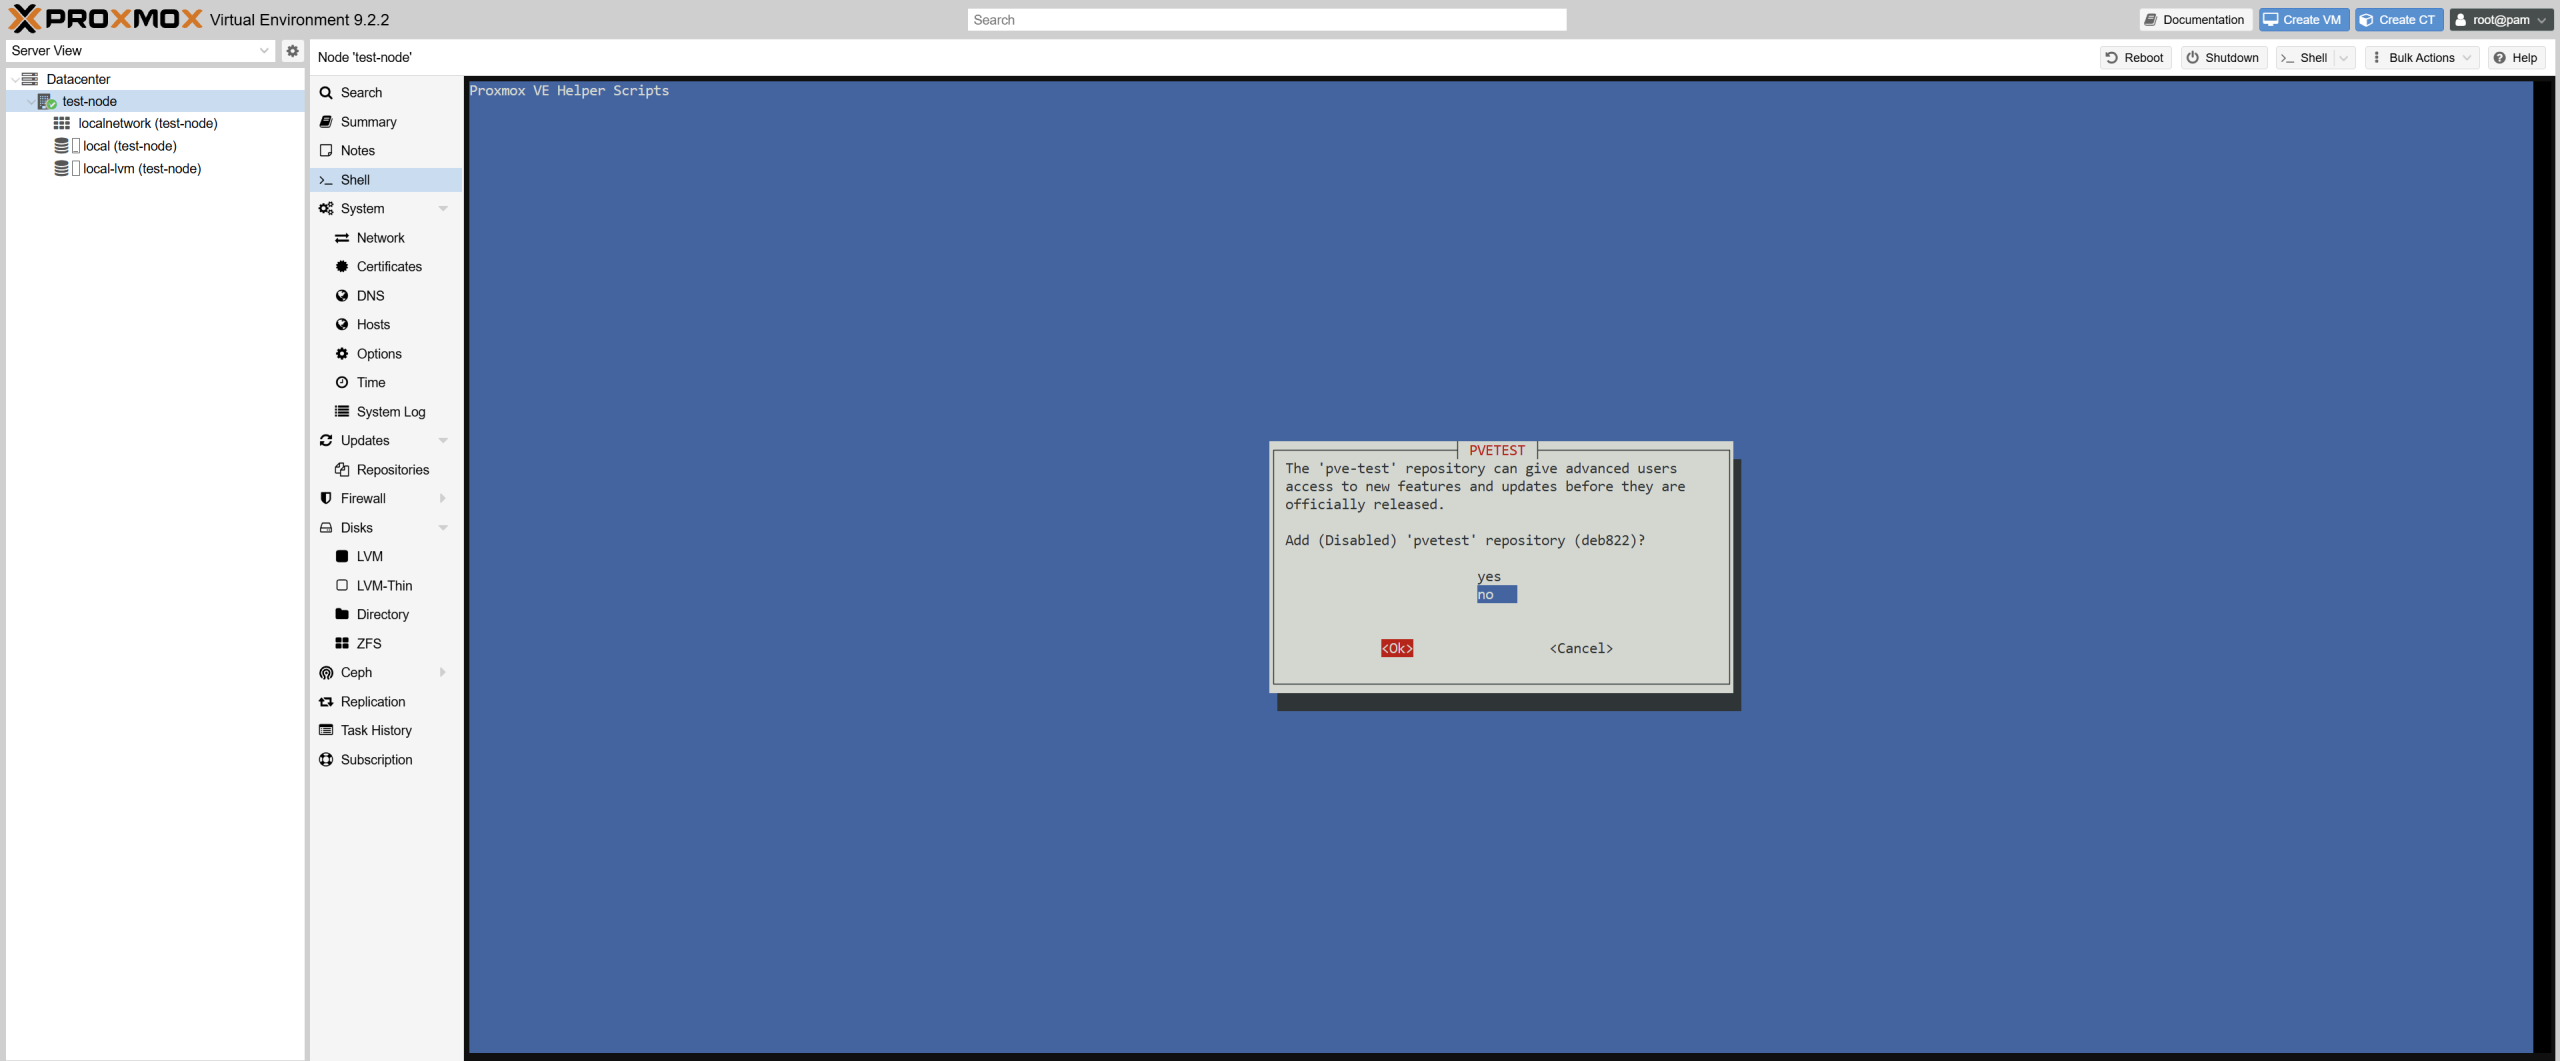
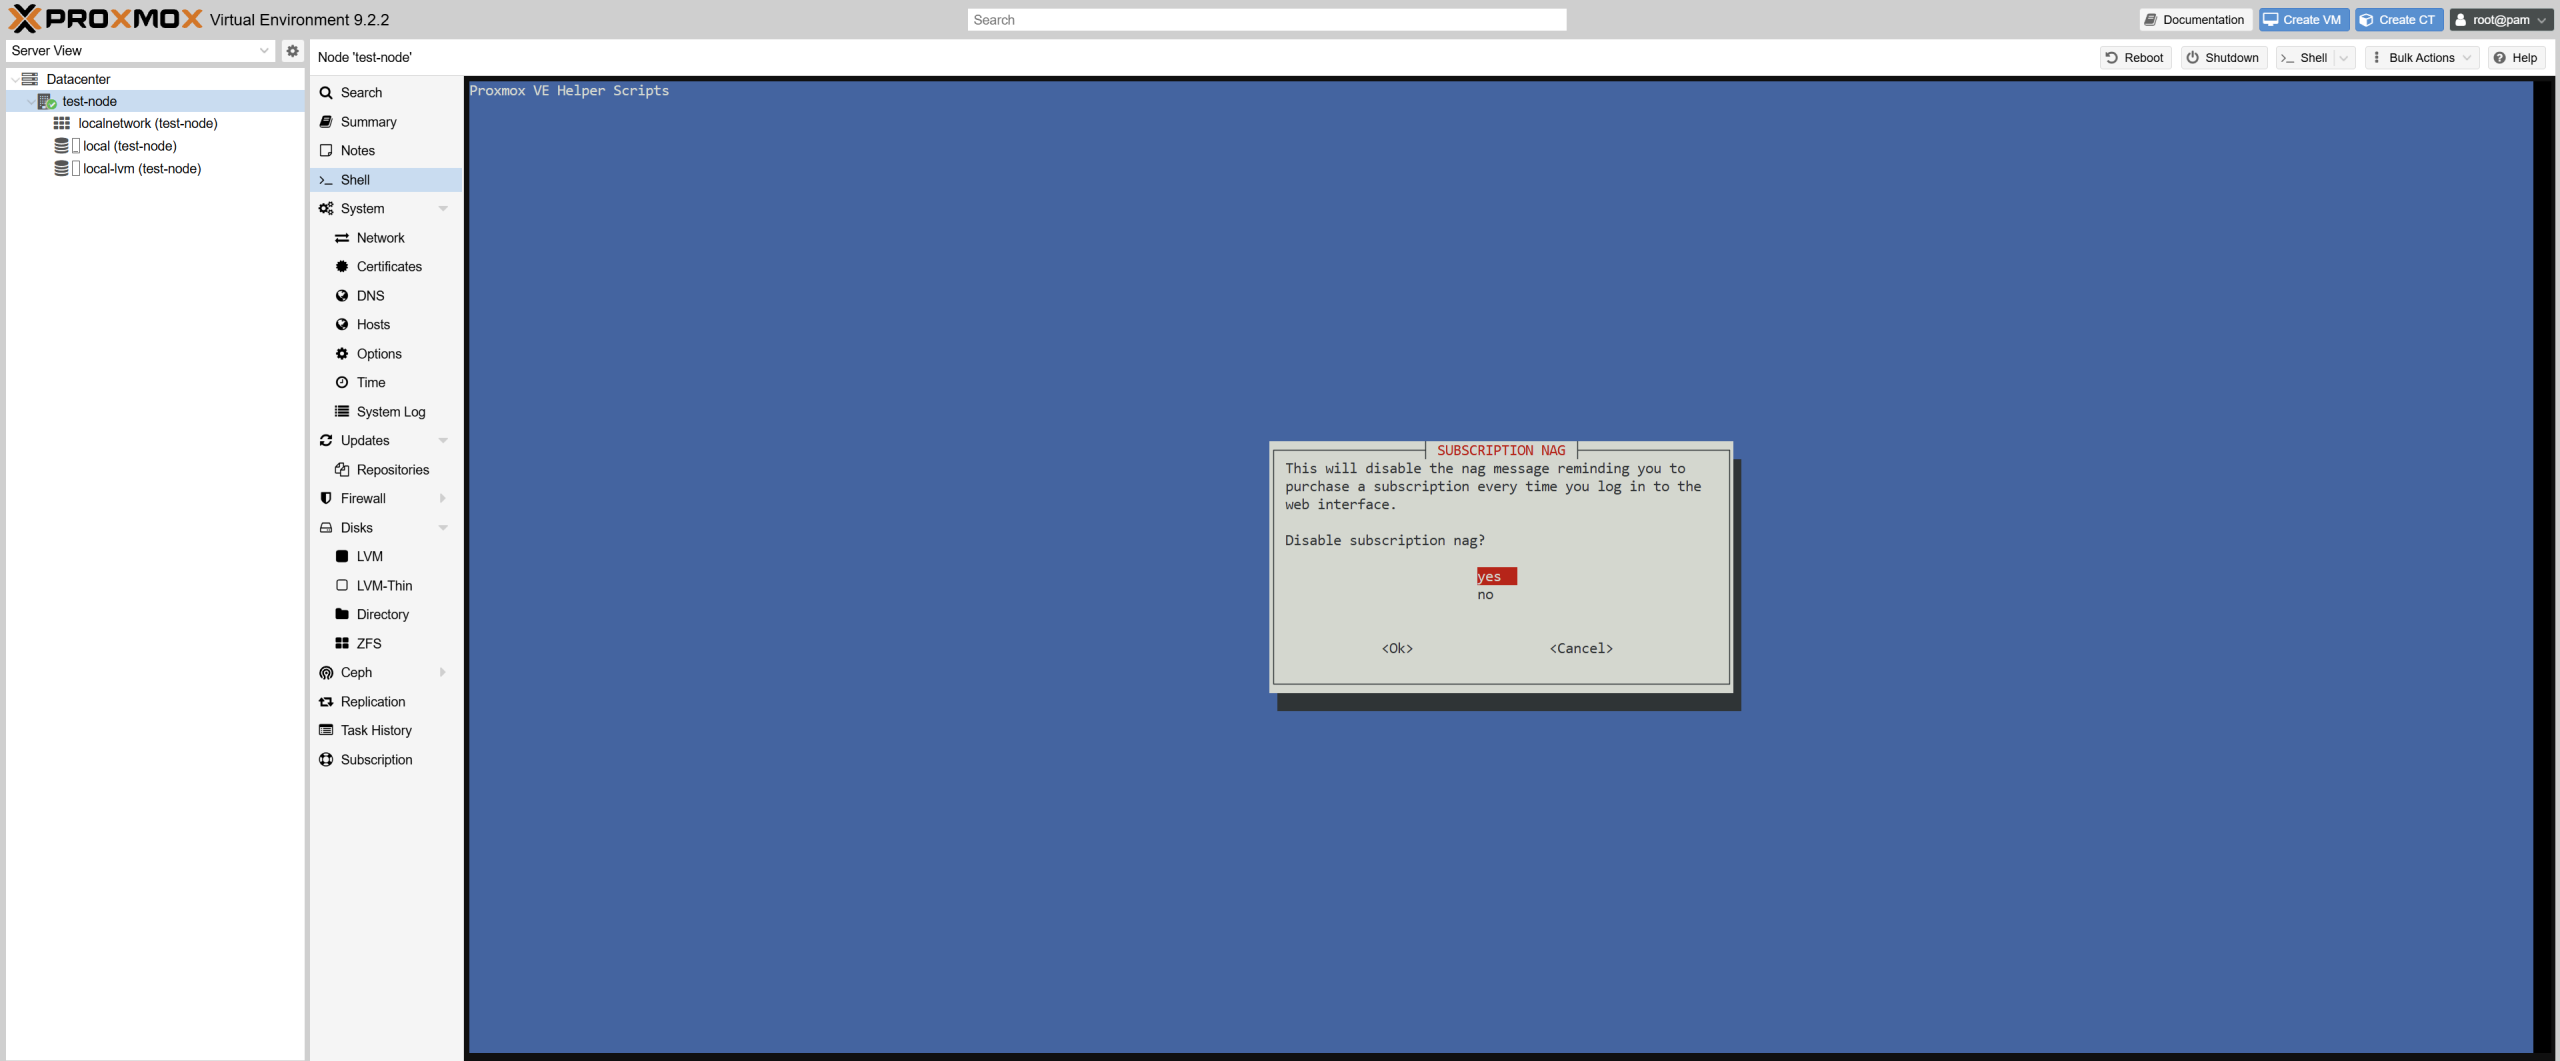
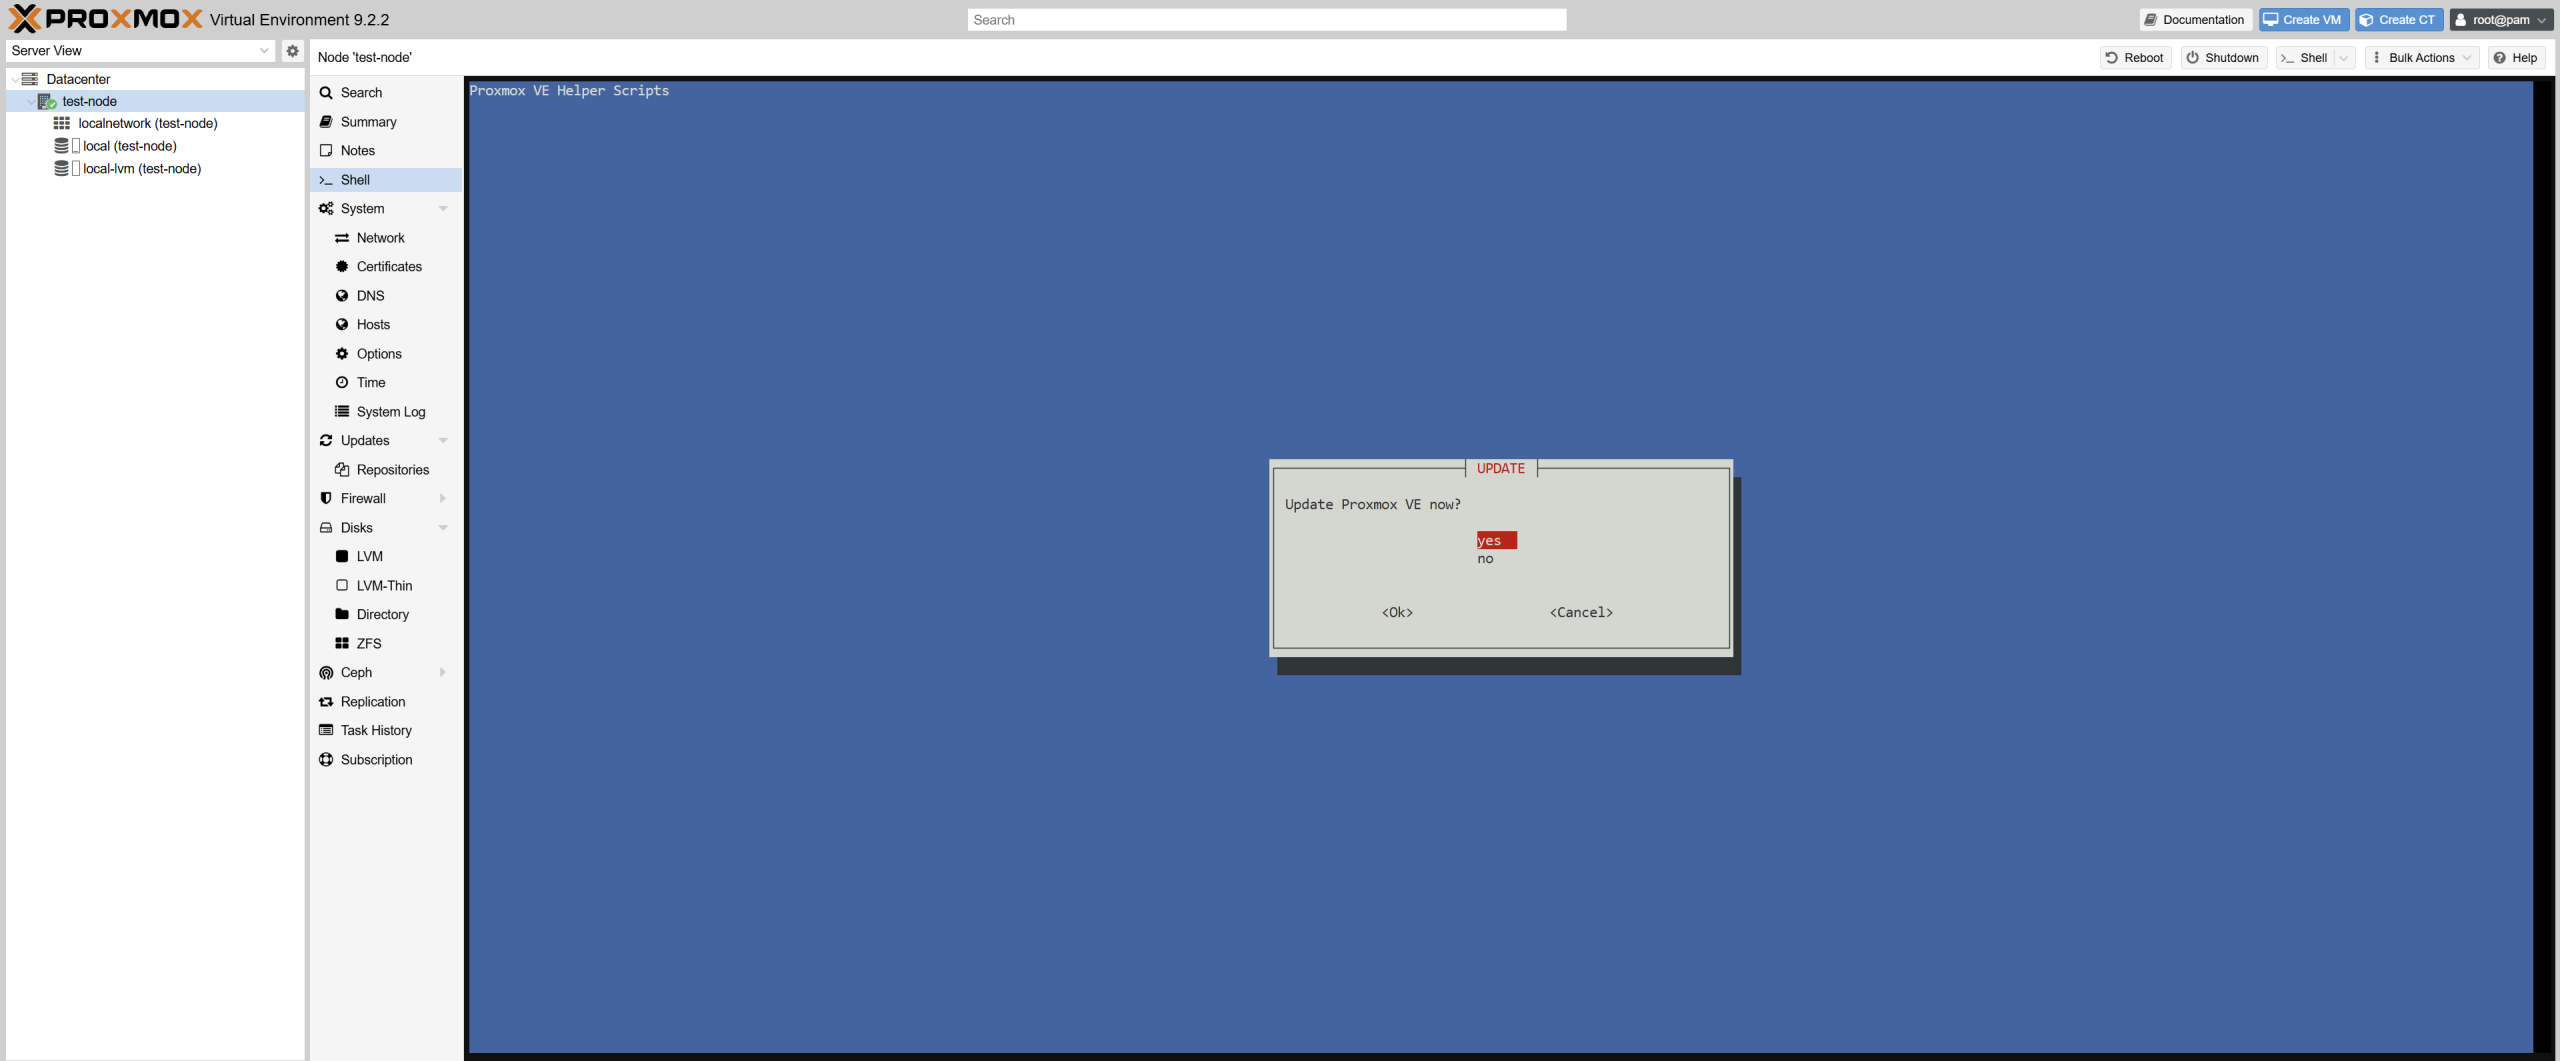
The script will guide you through several configuration options, including:
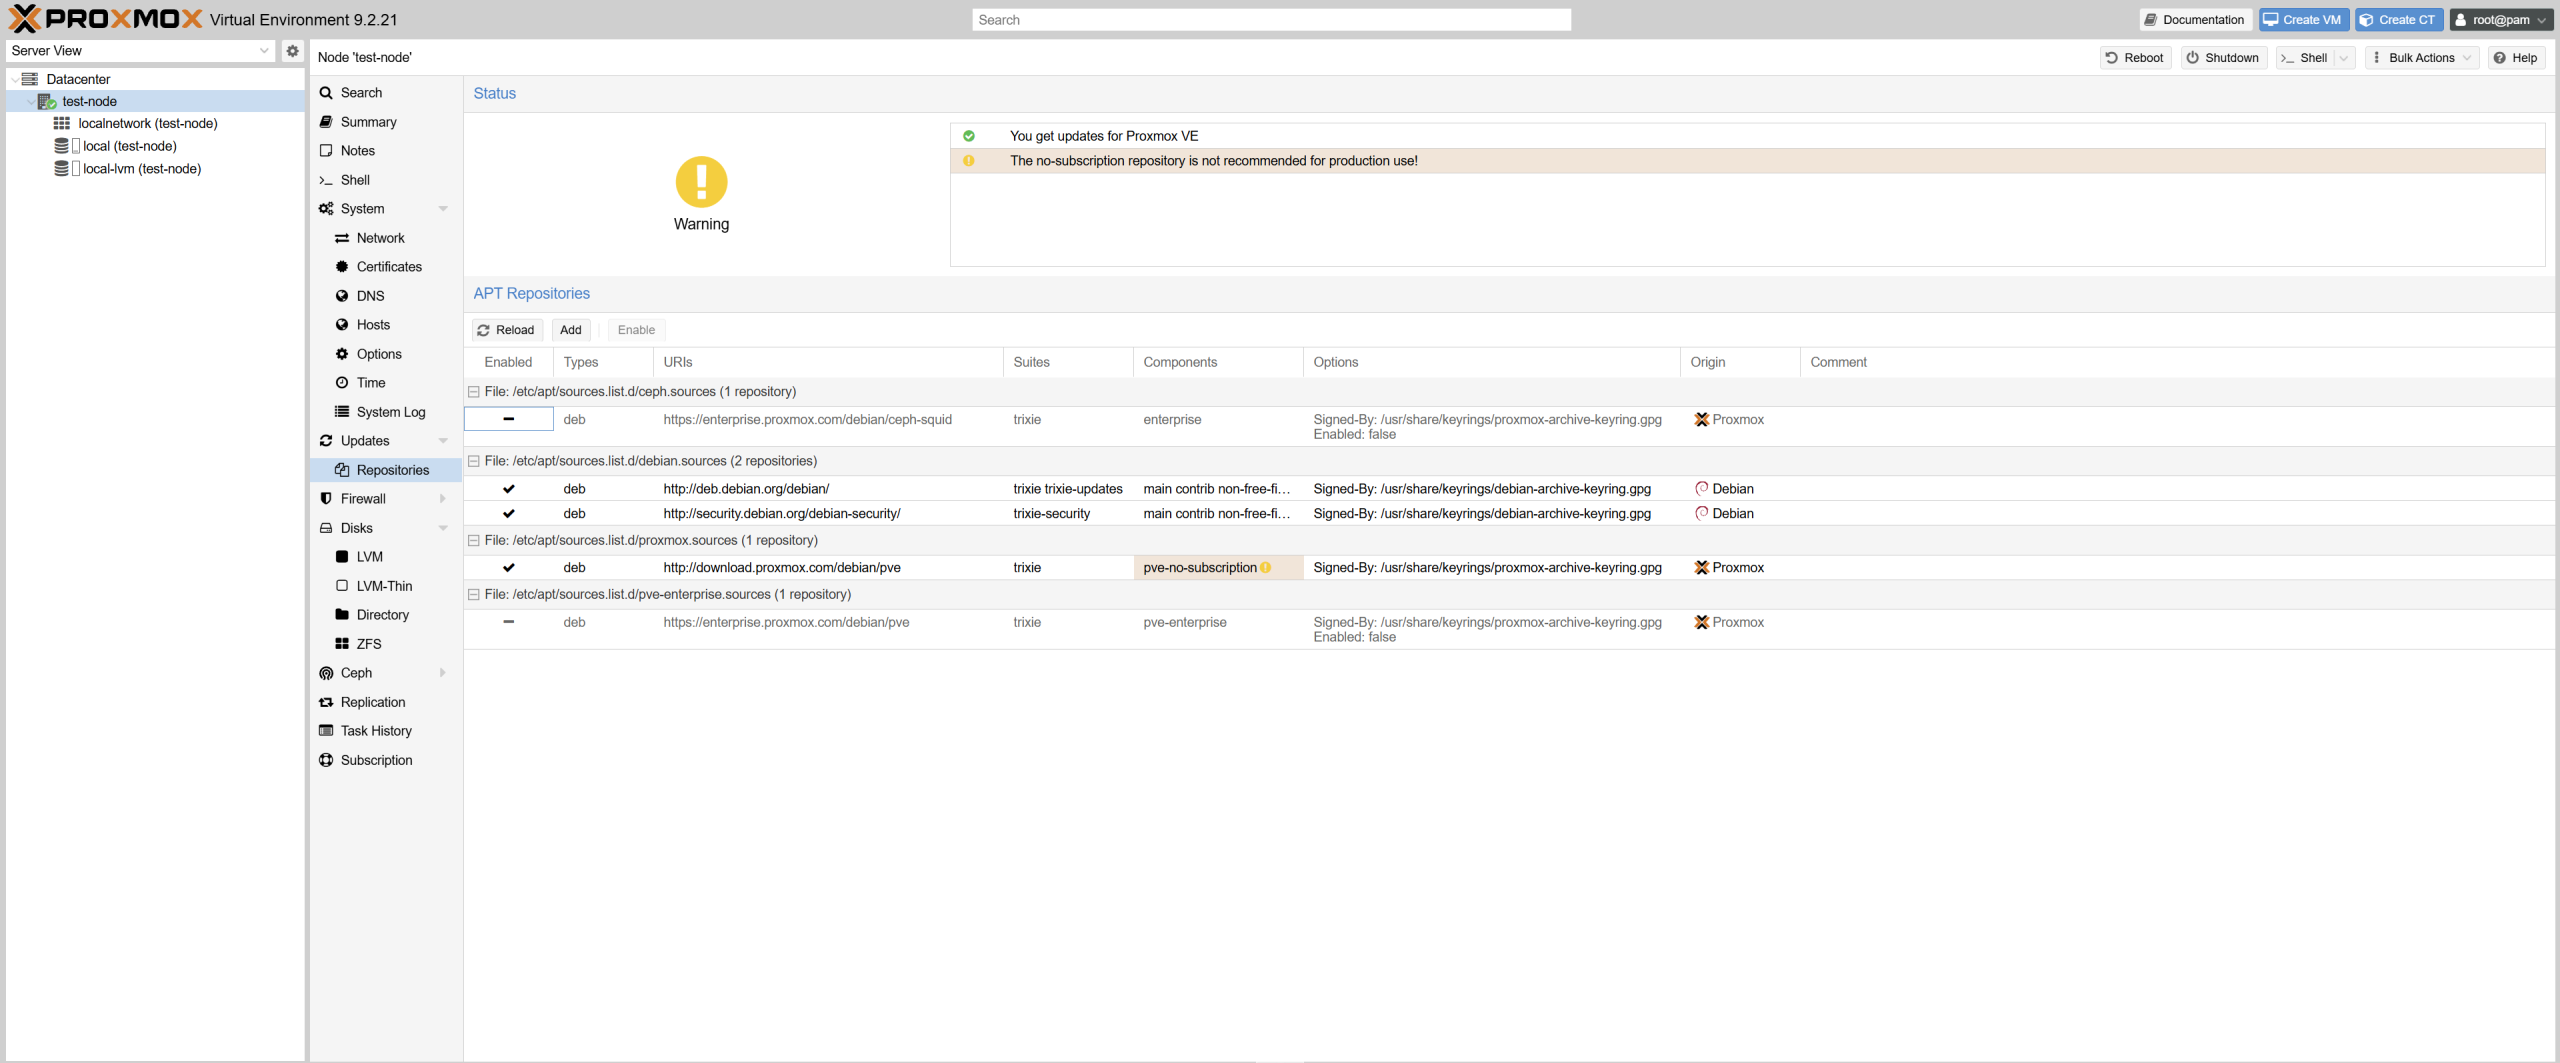
- Enterprise Repository: Disable the Enterprise repository if you do not have a paid Proxmox subscription.
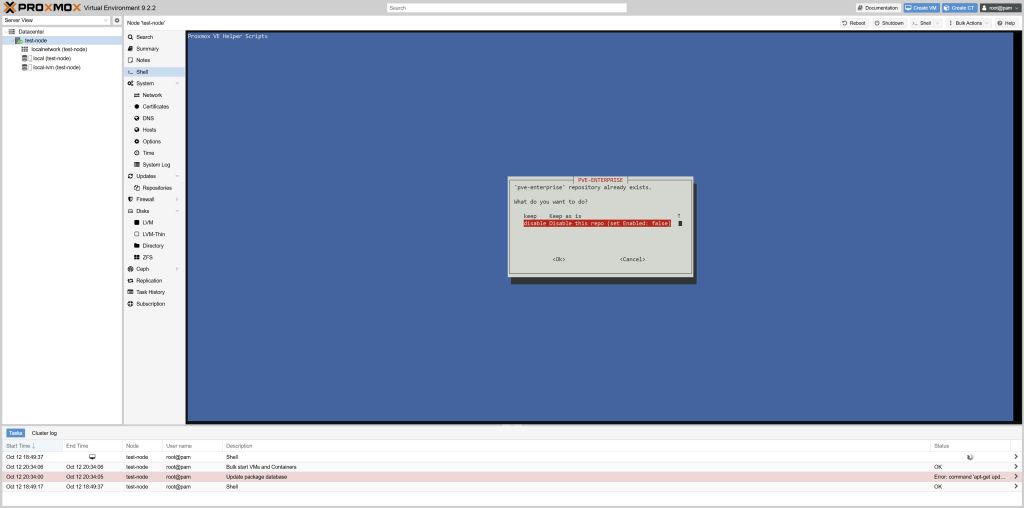
- No-Subscription Repository: Enable the free repository to receive software updates.
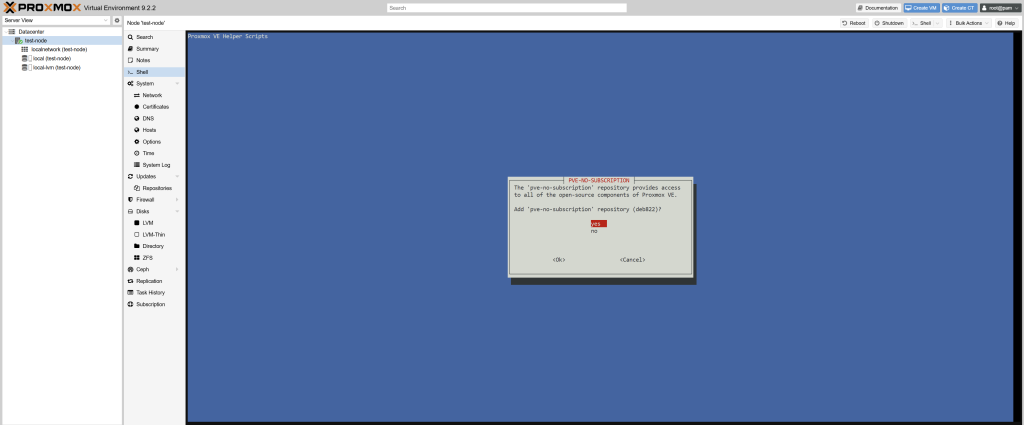
- Repository Configuration: Check and correct the configured Proxmox package sources.
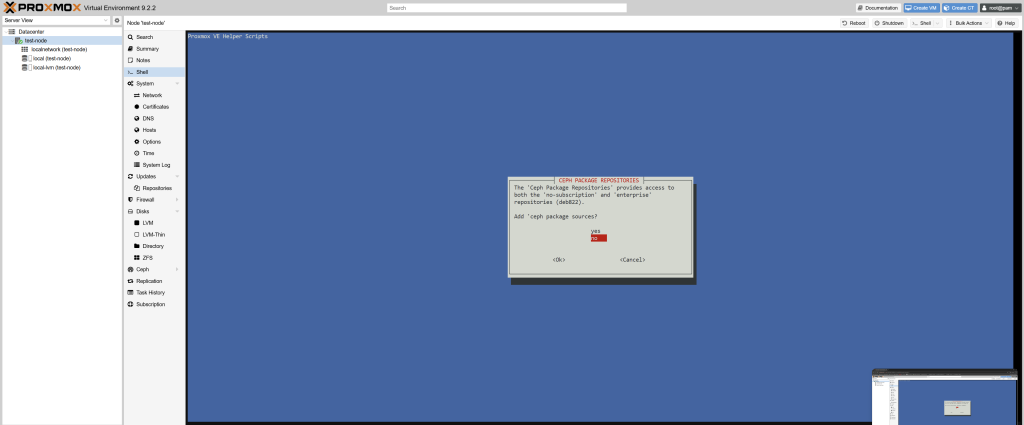
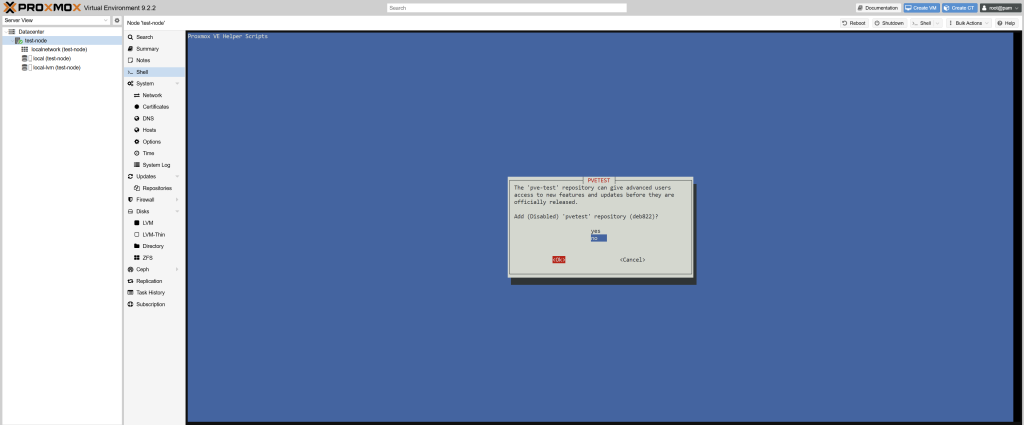
- Subscription Notice: Optionally disable the subscription reminder in the web interface.
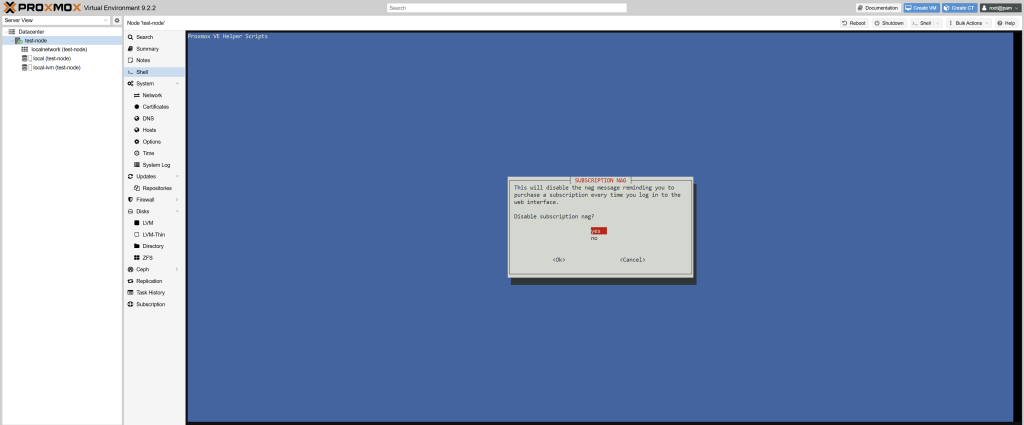
- System Updates: Update Proxmox VE to the latest available package versions.
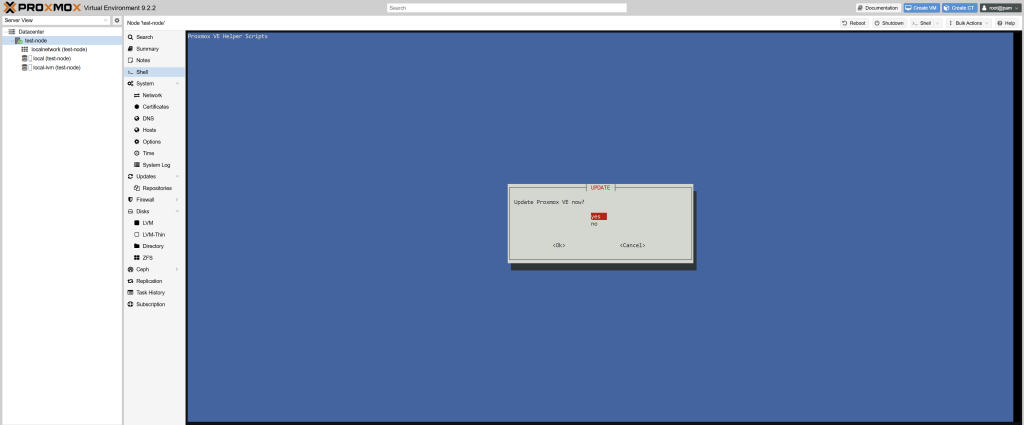
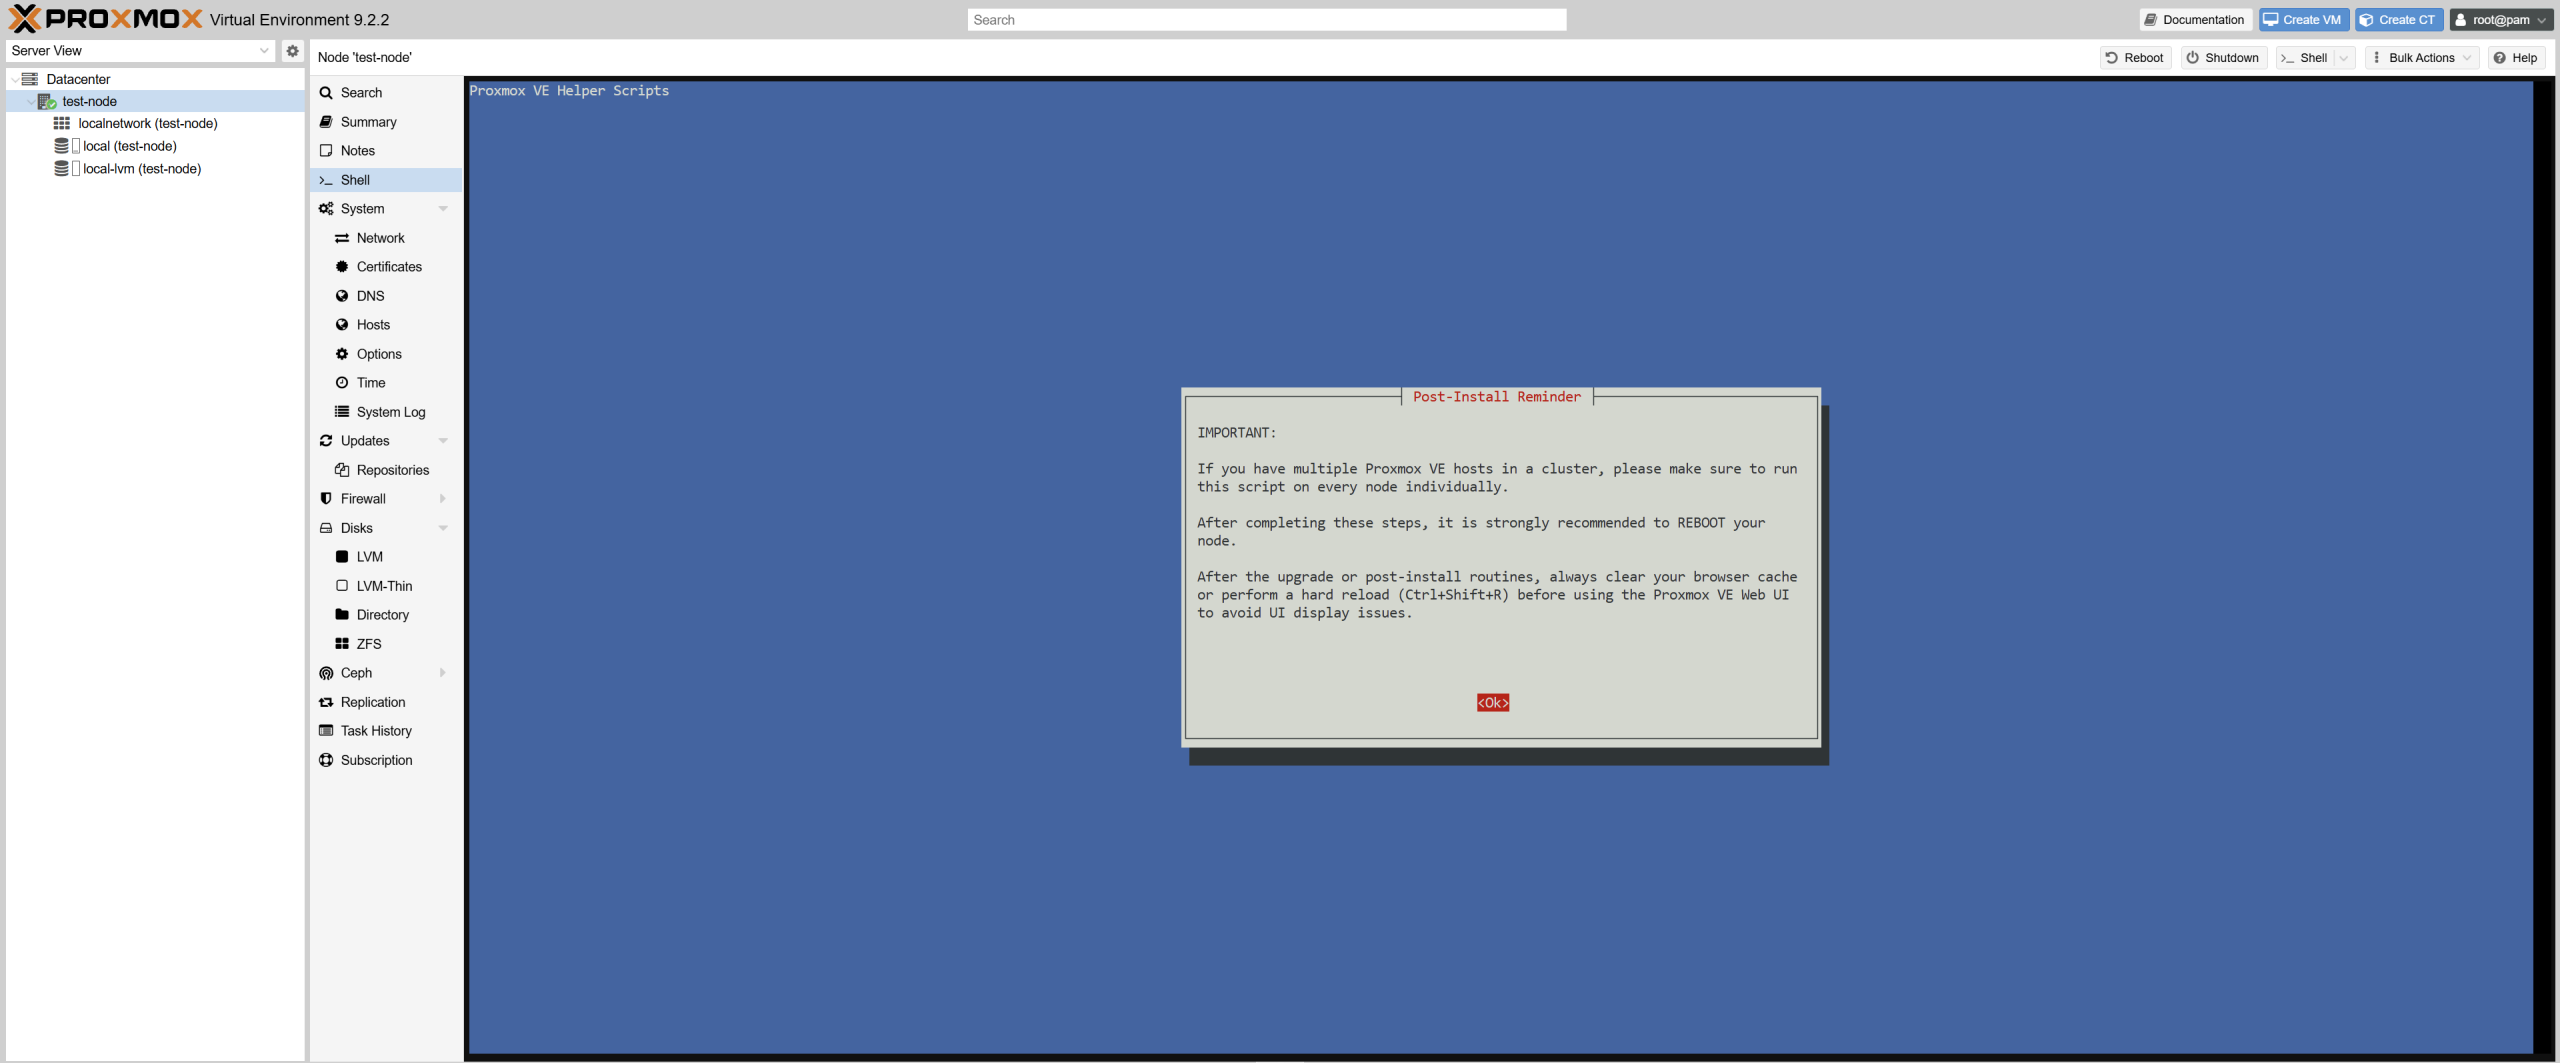
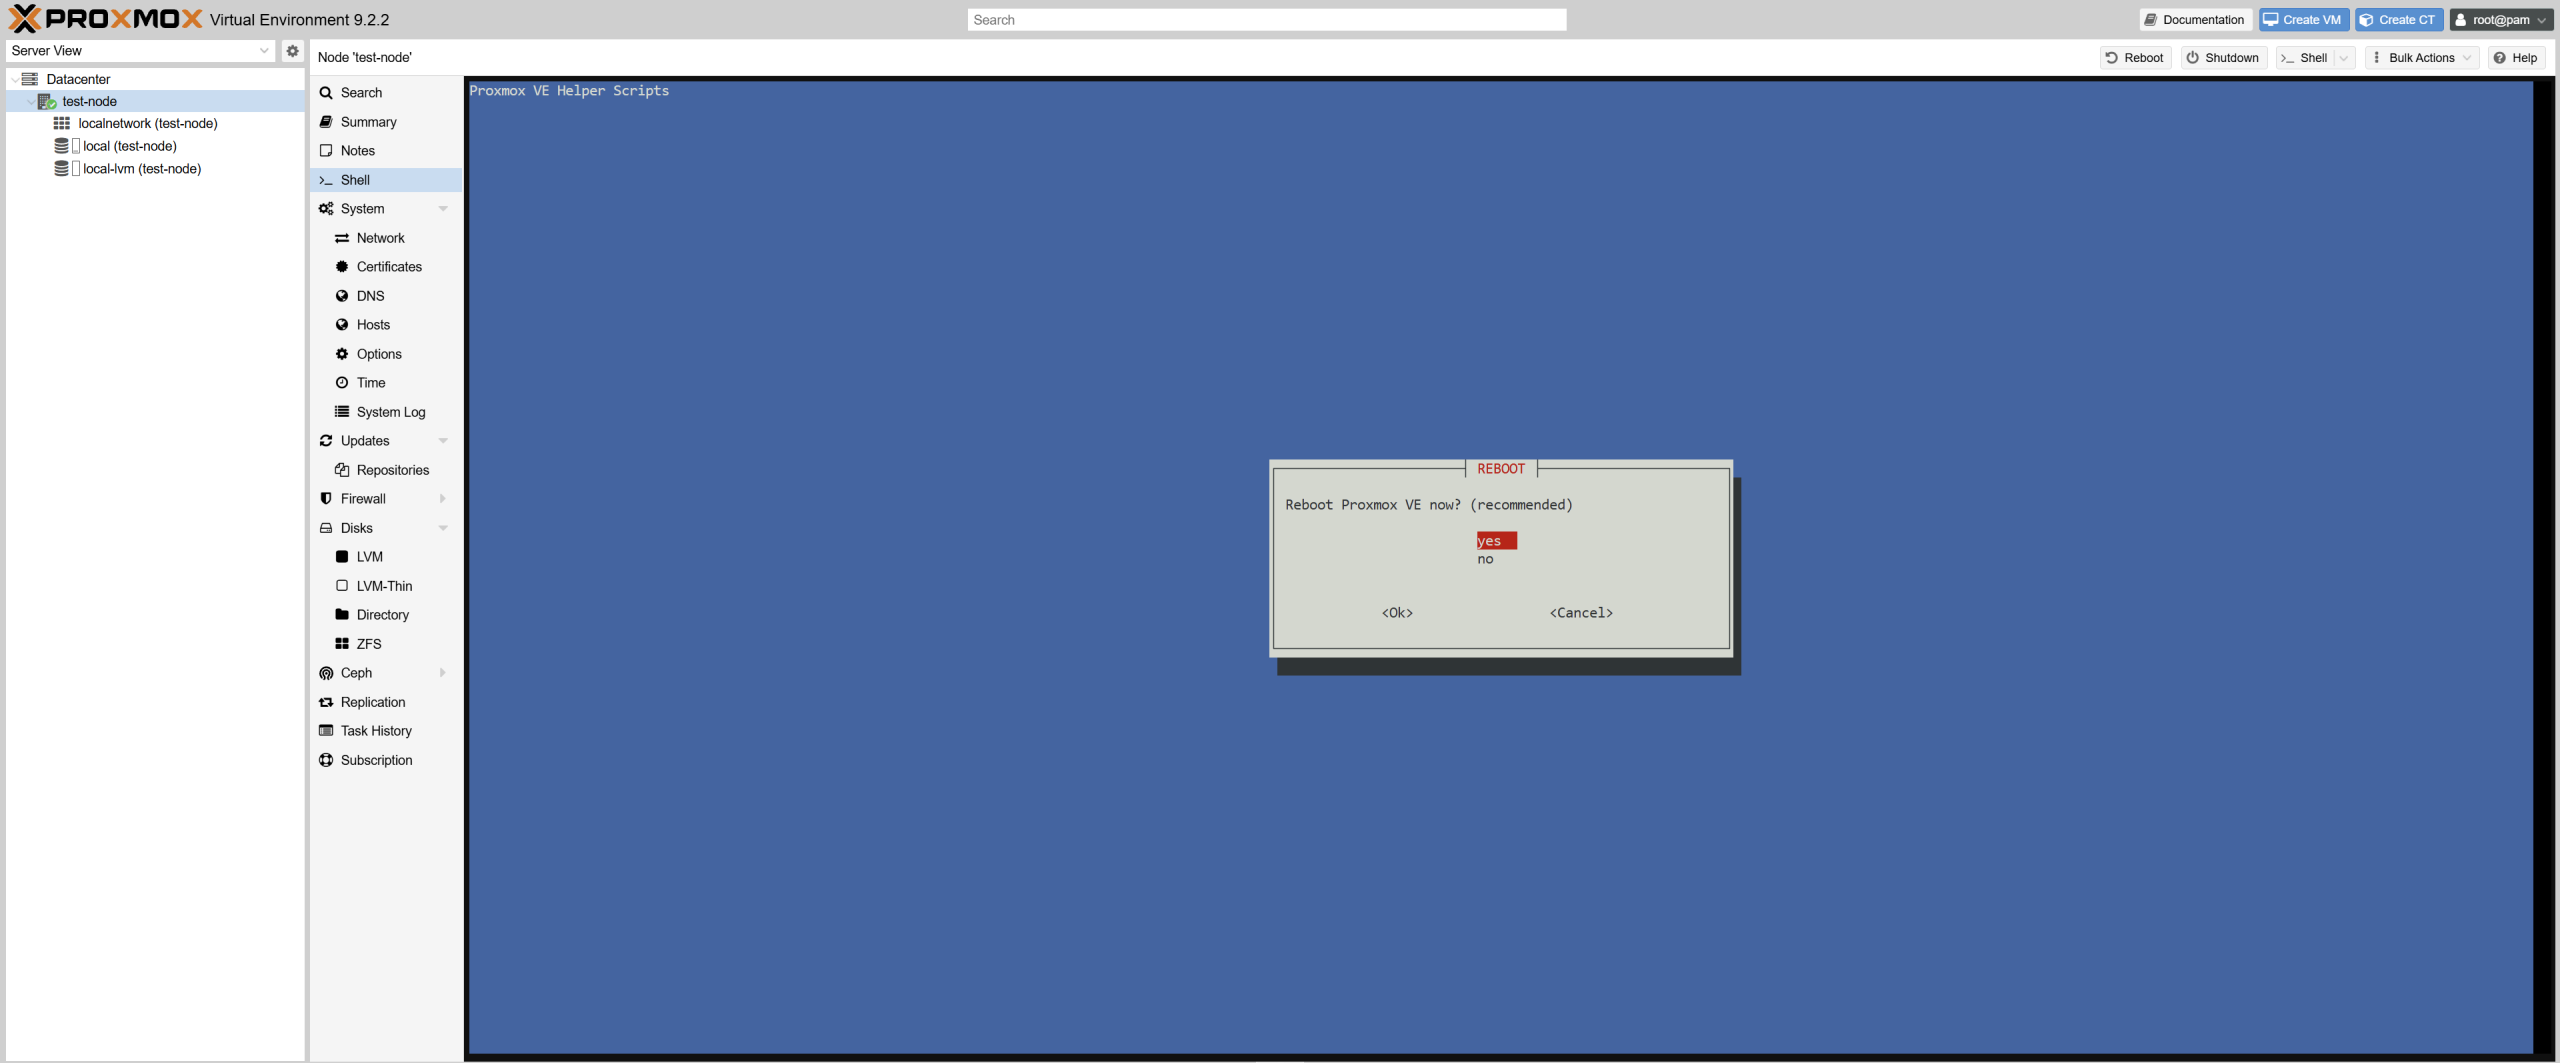
- System Reboot: Restart the node if required.
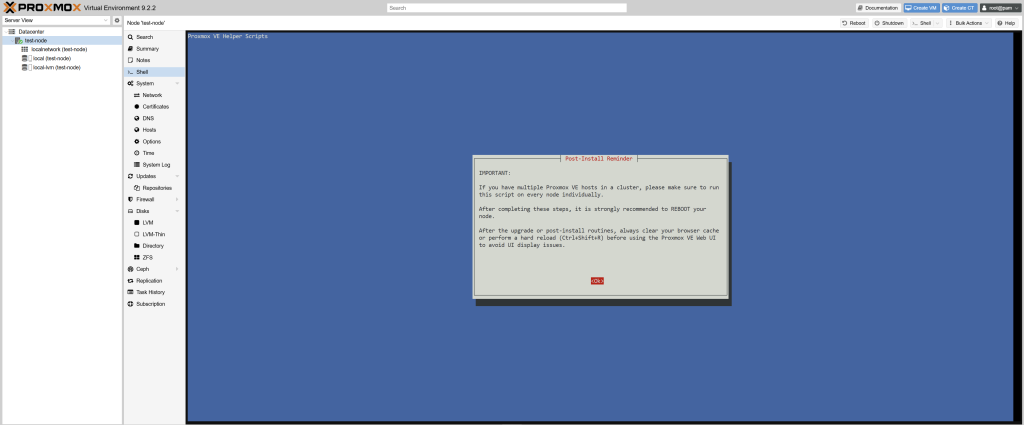
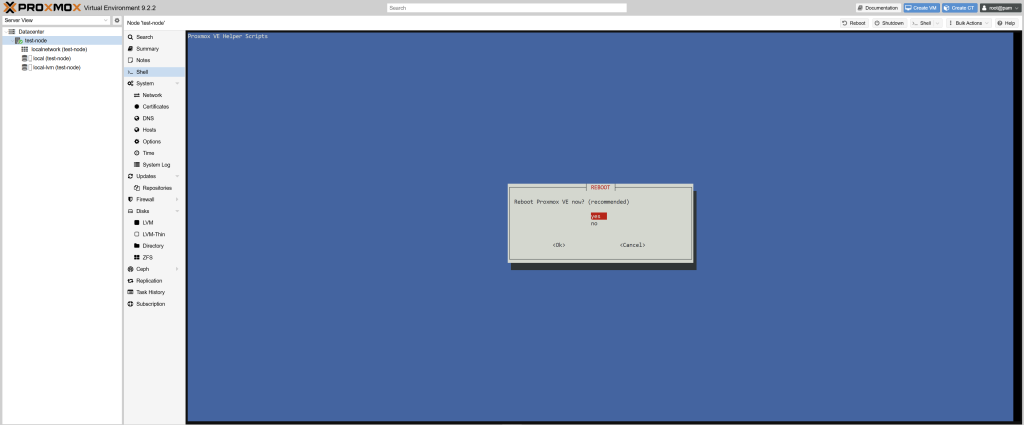
Verifying the Configuration
Once the script has finished and the node has restarted (if required), log back in to the web interface.
Navigate to Node → Updates → Repositories and verify that the No-Subscription repository is enabled and the Enterprise repositories are disabled if you do not have an active subscription.
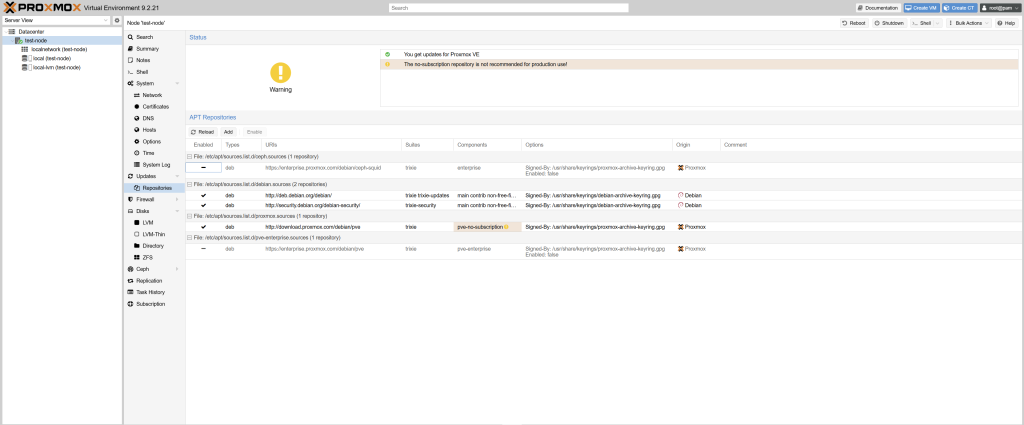
Your Proxmox VE node is now ready for the next step: preparing and configuring additional storage drives.
2. Creating a New Storage Directory (Only if you have a second drive)
Next, we will create a new storage directory using the prepared drive.
- Navigate to Disks → Directory.
- Click Create: Directory.
- Select the previously prepared drive.
- Choose a filesystem and enter a name for your new storage.
- Click Create to complete the configuration.
Proxmox will format the selected drive, create the filesystem, mount it, and register the storage automatically.
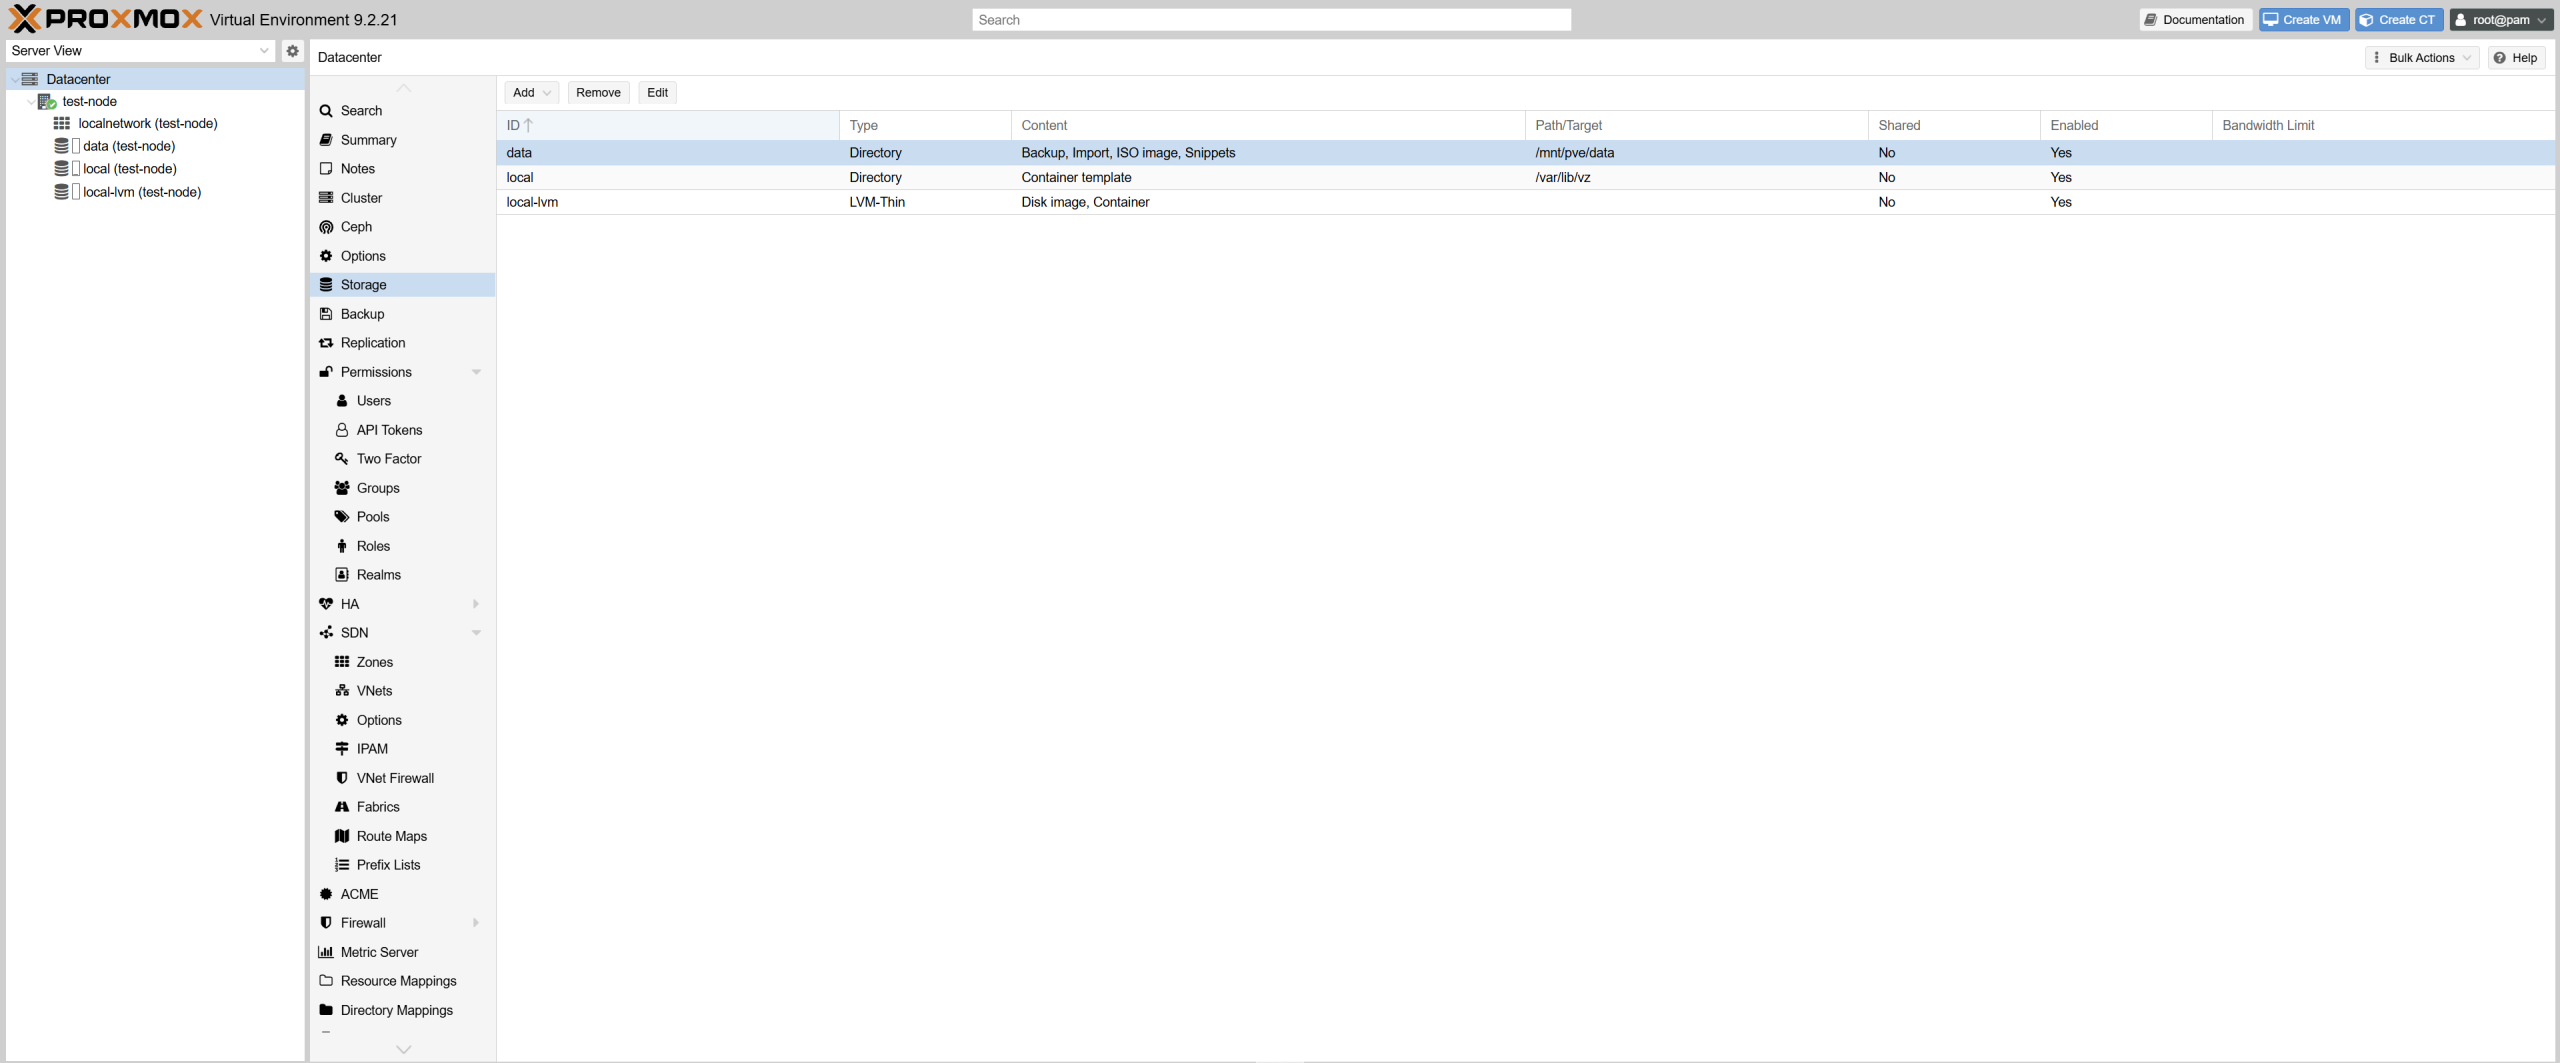
After creating the new storage directory, navigate to Datacenter → Storage.
Depending on your hardware configuration, you can choose between two different storage setups.
3. Configuring Storage for Virtual Machines and Backups
Option 1: Using Two Drives (Recommended)
If your Proxmox server has a dedicated system drive and a second drive for virtualization, I recommend separating the operating system from your virtual machine storage.
Configure the available storage locations as follows:
| Storage | Purpose |
|---|---|
local | Container template |
data | ISO Image, Backup, Snippets, Import |
local-lvm | Disk image, Container |
To configure your new storage:
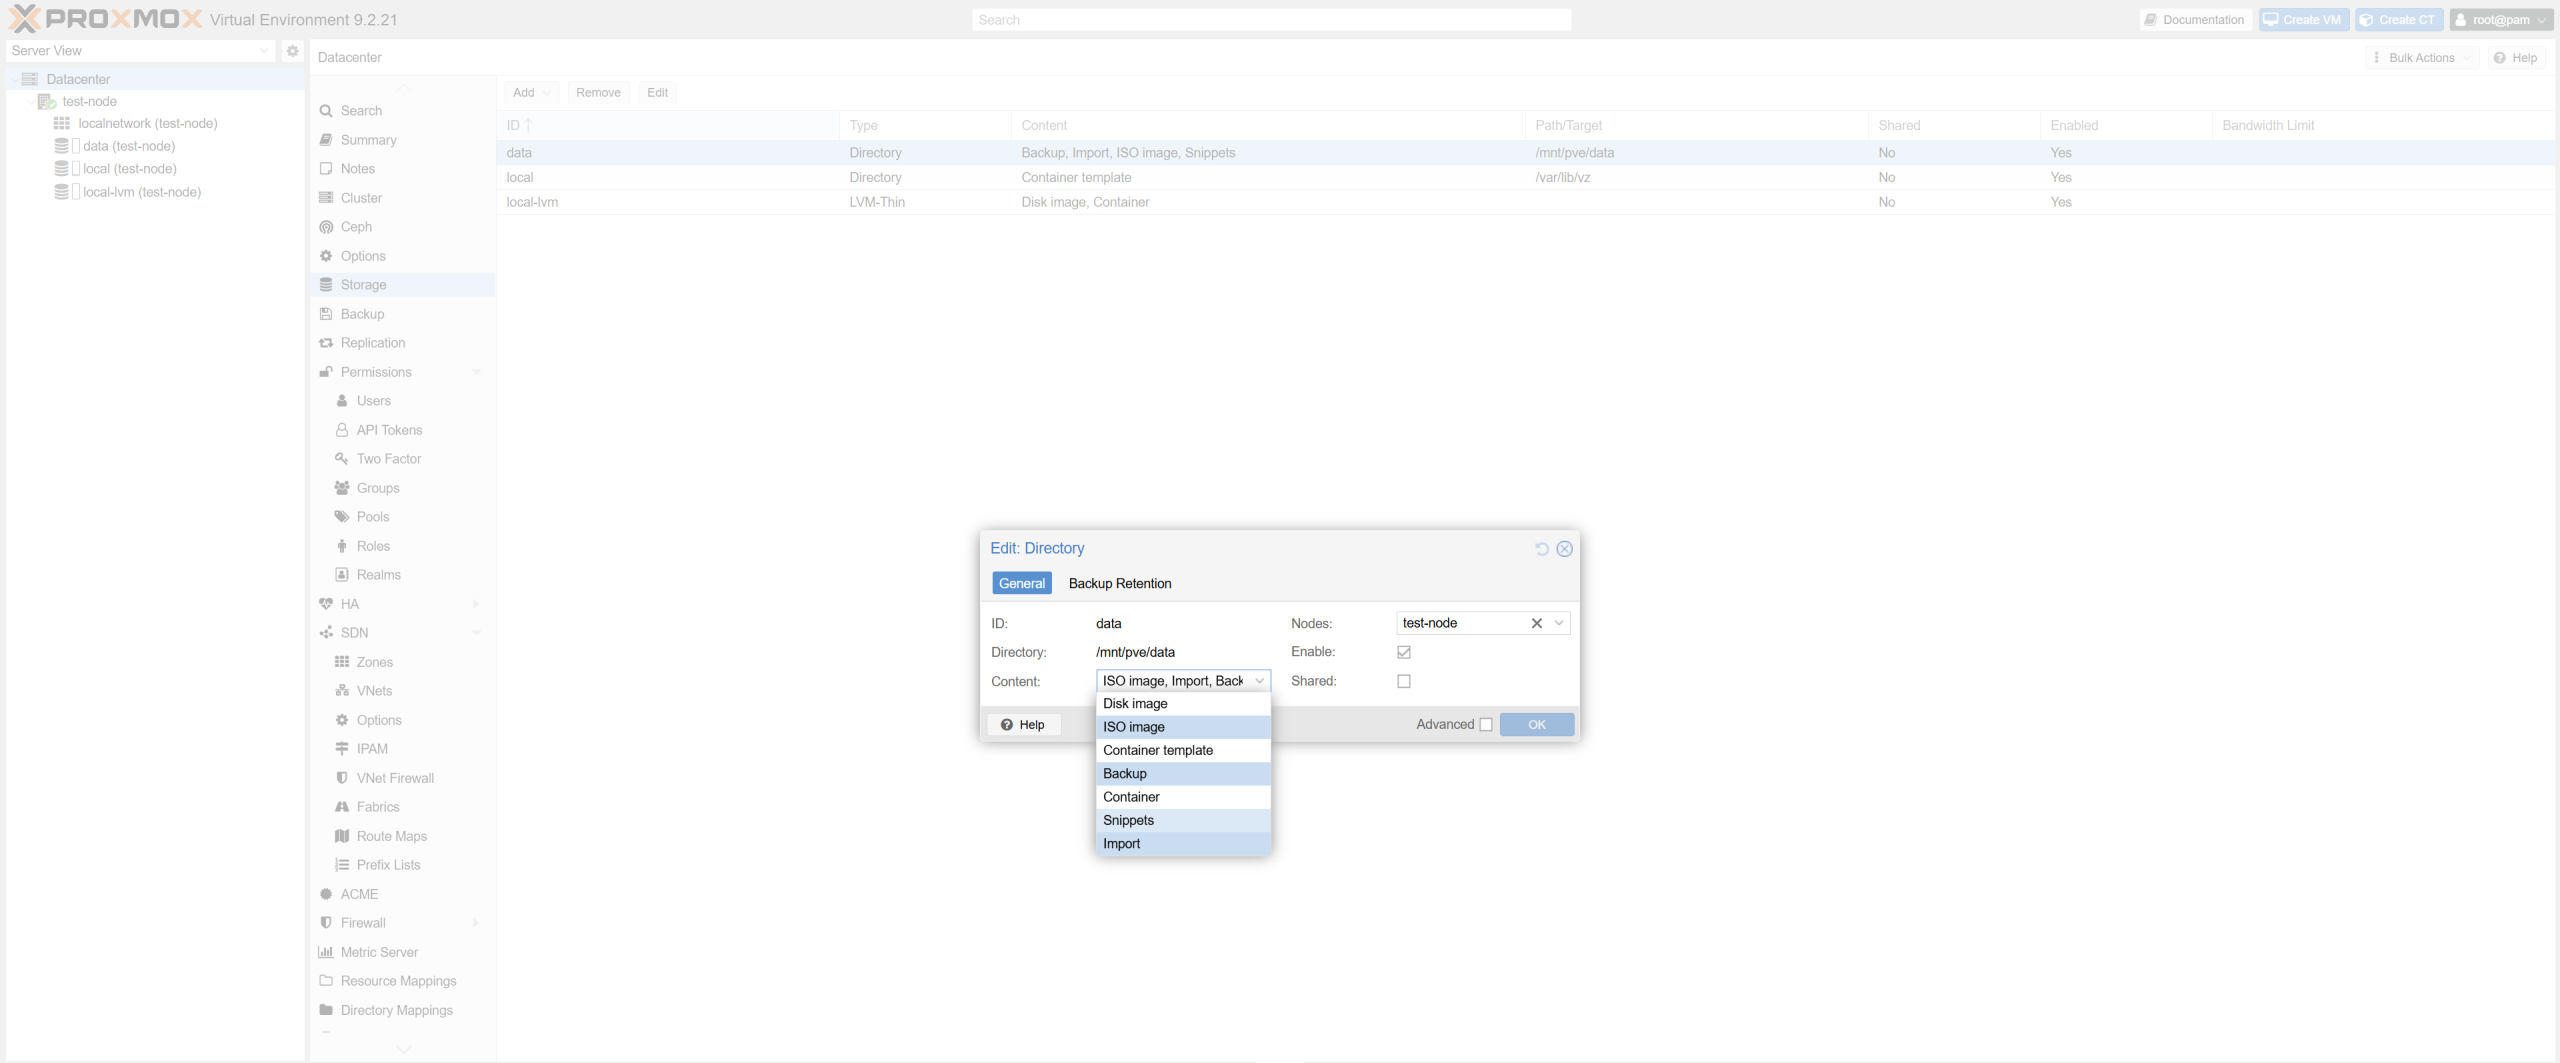
- Navigate to Datacenter → Storage.
- Select your newly created storage (
data). - Click Edit.
- Under Content, enable Disk image, Container, ISO image, and optionally Snippets.
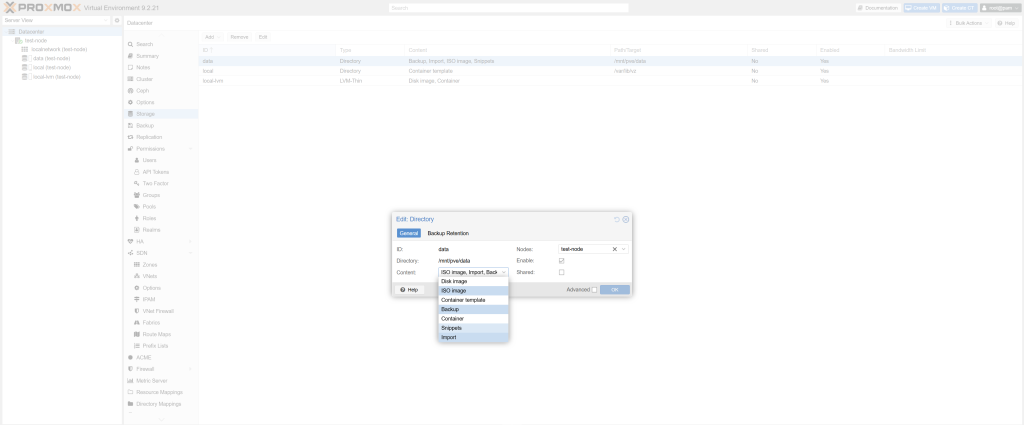
- Save your changes.
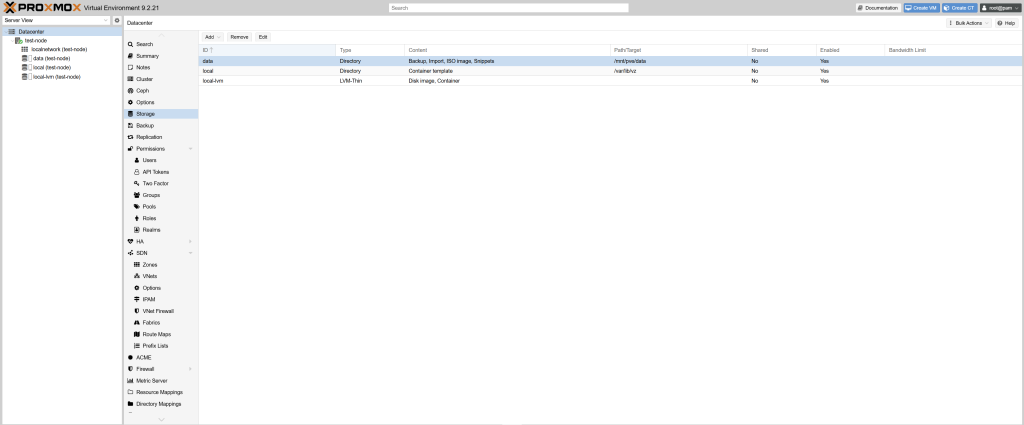
Backup Recommendation: Ideally, backups should be stored on a separate physical device, such as a NAS or Proxmox Backup Server. Storing backups on the same drive as your virtual machines does not protect against drive failure.
Option 2: Using a Single Drive
If your Proxmox server only has one physical drive, you can simply keep the default storage configuration created during installation.
For a standard installation using LVM-Thin, Proxmox automatically creates two storage locations:
| Storage | Purpose |
|---|---|
local | Container template, ISO Image, Backup, Snippets, Import |
local-lvm | Disk image, Container |
No additional storage directory is required.
Your virtual machines and containers will be stored on local-lvm, while ISO images and backups can be stored on local.
To enable local backups:
- Navigate to Datacenter → Storage.
- Select local and click Edit.
- Make sure VZDump backup file is enabled under Content.
- Save your changes.
You can now create backups by selecting a virtual machine or container and navigating to Backup → Backup now.
Select local as the destination.
Important: Local backups stored on the same physical drive as your operating system and virtual machines are not a replacement for external backups. A drive failure could result in the loss of both your virtual machines and their backups.
For better protection, consider using a NAS, external storage, or a dedicated Proxmox Backup Server.
Which Setup Should You Choose?
For a small homelab or testing environment, both configurations work perfectly fine.
If you have a second physical drive available, separating your system and virtualization storage makes management easier and provides additional flexibility.
If you only have one drive, the default Proxmox storage layout is a simple and reliable starting point.
Regardless of your configuration, always keep important backups on a separate physical device.
Snapshot Support
Proxmox VE supports snapshots, but availability depends on the selected storage type.
When using EXT4 or XFS directory storage, virtual machines must use the qcow2 disk format to support snapshots. LXC container snapshots are not supported on standard directory storage.
If you want snapshot support for both virtual machines and LXC containers, consider using LVM-Thin or ZFS instead.
Note: Snapshots are not a replacement for backups. They are primarily intended for quickly restoring a virtual machine or container to a previous state.
Leave a Reply